Click here to see how it looked on me before (yep it is quite funny but I look sillly in most pictures... the end of this post will prove that!)
The shirt I used was one S. found in his wardrobe and it was too big for him so I thought I might be able to do something with it...
Here is the tutorial for the big shirt that I made into a dress:
 |
| No arms! |
 |
| With arms |
Turn your shirt inside out and cut off the sleeves.
Measure 10 inches down from the neckline and cut the shirt across in to two pieces at this point.
 |
| Start cutting! |
--------------------------------------------------------------------------------------------------------------------------
Bodice:
Using a fabric pencil mark the new armholes and side seams on the top (bodice) part of the shirt.
 |
| Mark out bodice |
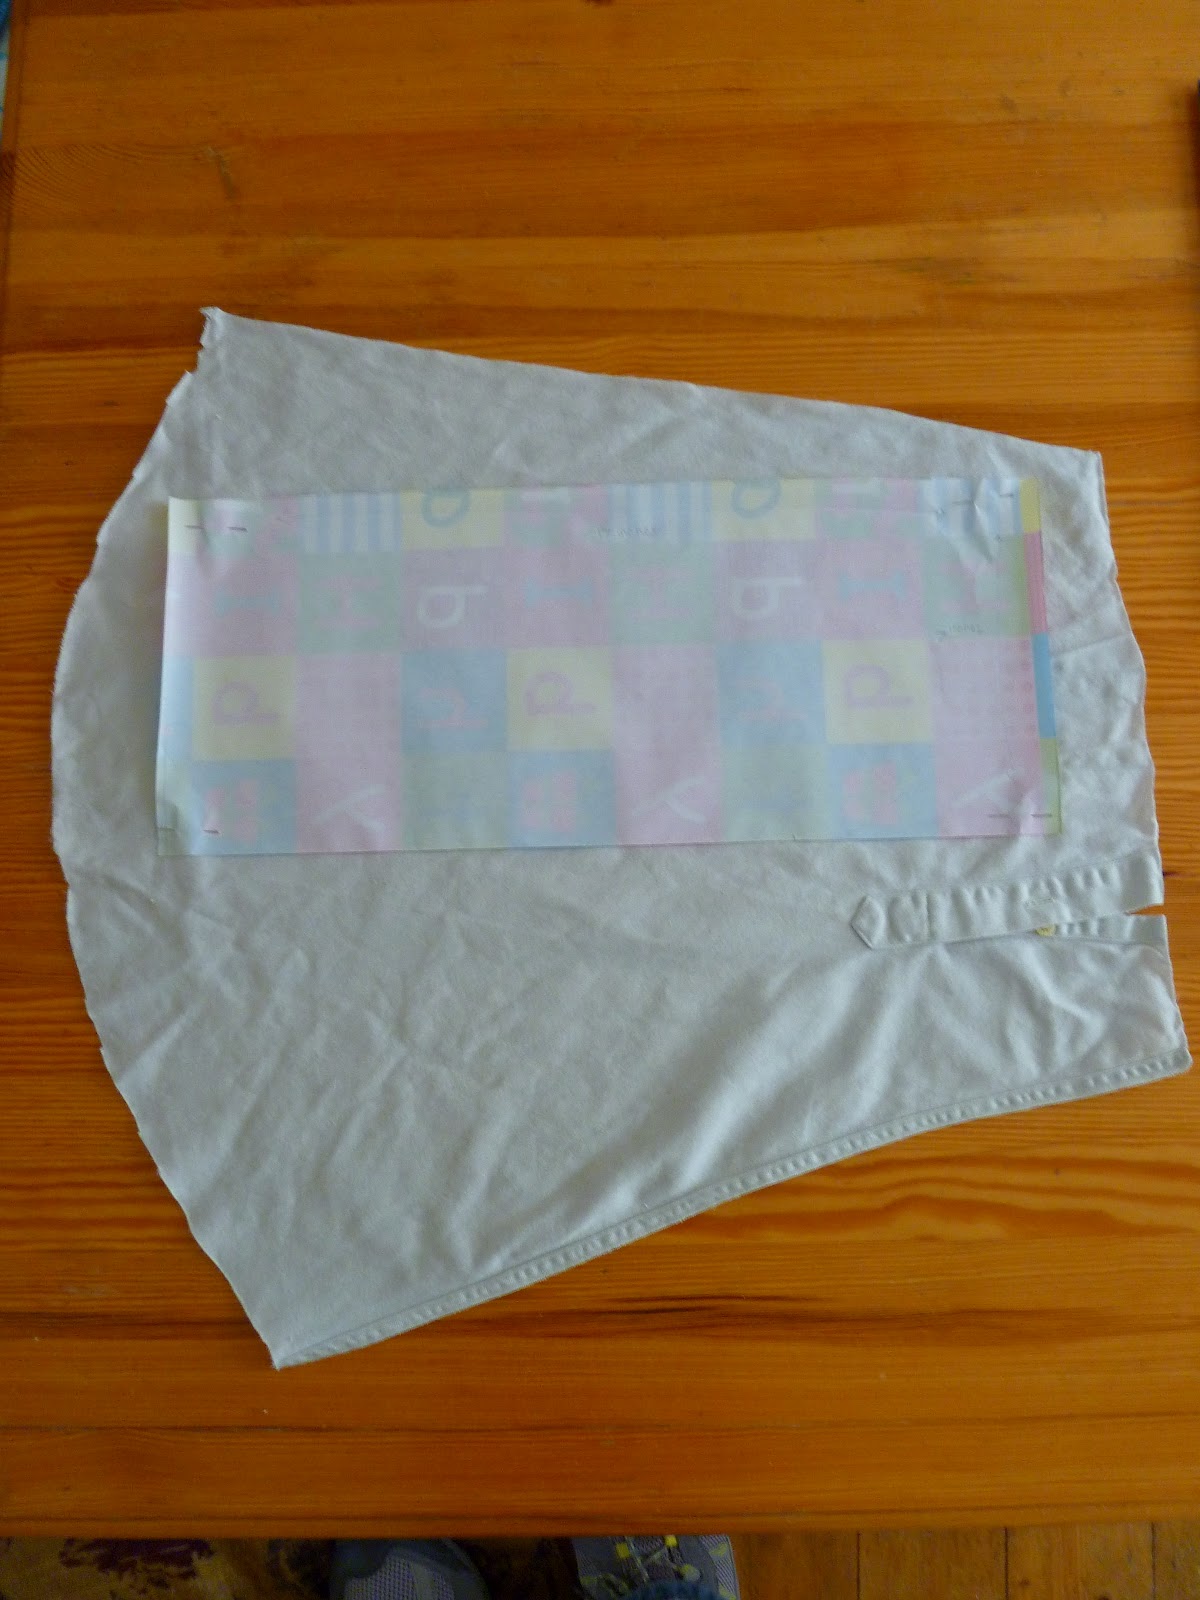
To make life easier use the outline of an existing pattern as a template - I used the top of the dress pattern that I used to create my
daisy dress. Also mark the darts on the bodice (as seen above).
 |
| Dart |
Sew the darts and the side seams of the bodice - leaving the arm holes. I also reinforced the seams using a zig-zag stitch (and neaten up the edges).
 |
| Right way out. |
At this point it is useful to try the bodice on just to make sure that it fits properly.
--------------------------------------------------------------------------------------------------------------------------
Middle:
Next I used the sleeves to create the mid section of the dress.
 |
| Sleeve |
Open the sleeves out by cutting along the seam and then removing the cuff. Do this to both the sleeves.
 |
| Templates |
Create templates for the two front panels and another for the back panel. I made them rectangular - at this point can also add some shaping to the panels for the waist or wait (like I did until the point of sewing).
The back of the bodice is 17 inches and so the back panel is also 17 inches long (plus seam allowance).
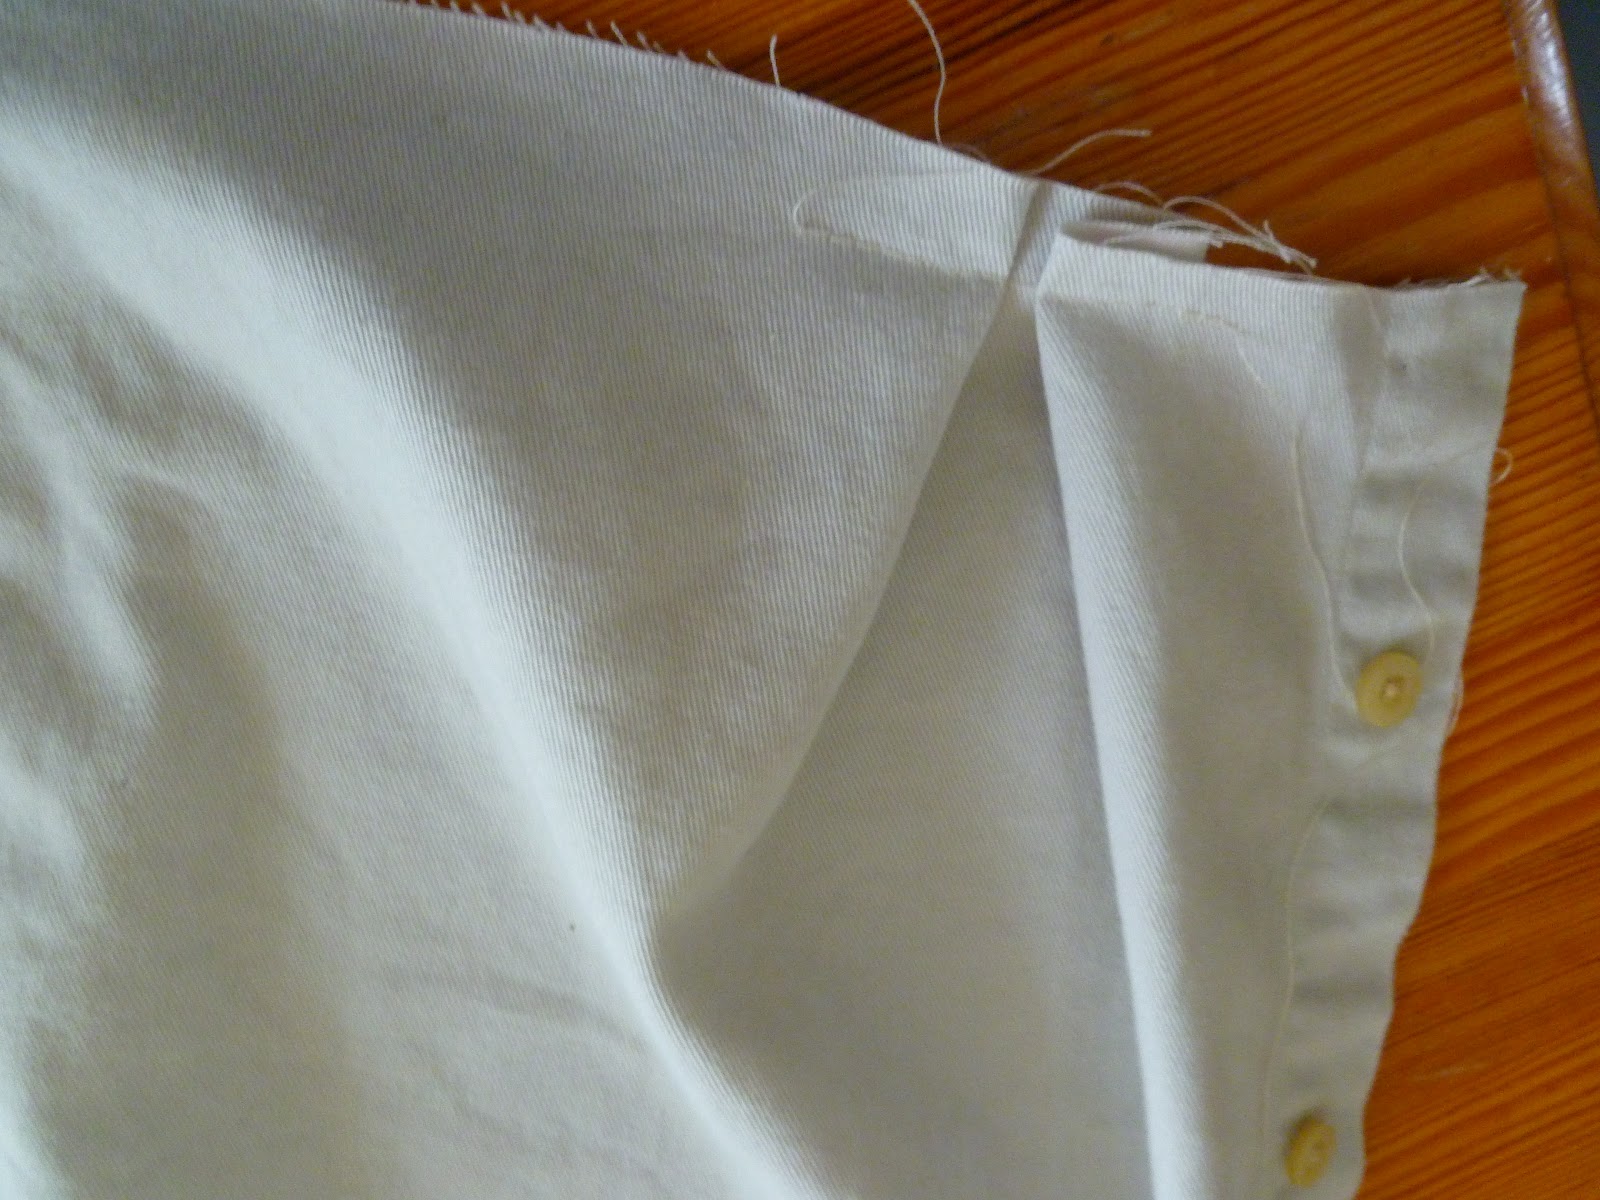
Similarly each of the two front panels is 9 inches to match up with either side. I have added an additional inch and a half (all with seam allowance) so that I can create a folded band on either side to match up with the strip the buttons are on.
With right sides up, fold the extra 1 1/2 inches (plus seam allowance) over and then fold the seam allowance under. Iron the folds in place. Stitch along each edge - I chose to stitch 5mm in from each edge so that the strip matches up with the button strip on the shirt. Apologies for changing the measurements from inches to cm for this bit.
Take the back panel and position the two front panels on top of it with the right sides together. Pin the edge seams and then sew them together. At this point you can add some shaping for the curve of the waist.
--------------------------------------------------------------------------------------------------------------------------
Bodice:
Now go back to the bodice section; more specifically the back of the bodice.
If you wish to attach the mid section to the bodice with a single straight line seam across the back this is not necessary.
I as always decided to complicate things by deciding to create a 'V' shape across the back of the dress.
The front of the bodice is now shorter than the back due to the darts being sewn in place. This means that this extra few cms of fabric can be used decoratively.
I measures approximately 1 cm down below the current end of the side seams. I also marked the centre of the back of the bodice.
I then pinned a hen at an angle - going from the centre-point to the side of the bodice (to the point one cm below the side seam). Double check that the hem is positioned correctly, press and stitch in place. Make sure that the stitch line is close to the edge. Trim the excess fabric.
--------------------------------------------------------------------------------------------------------------------------
Attach Bodice to Middle:
I forgot to take a picture of this but basically it is simply sewing the two pieces together.
Begin by positioning either side of the front panels - lining the strip for the buttons up (with right sides together).
Just pinned the front panels to the front of the bodice. Make sure the side seams match up and stitch them in place
If you just want a straight seam along the back - simply stitch the two together.
I chose to create a 'V' shaped flap which shows on the outside - position the 'V' so it over laps the back of the middle back section (mid section). Pin it in place. Also pin along the top of the mid section (under the flap). I then stitched a line following the top of the mid-section. I then trimmed the seam allowance.
Next secure the 'V' flap by zig-zag stitching over the edge of the 'V' and along the side seams above the 'V' to attach it to the mid-section.
 |
| If you look closely you can see the 'V' shape and the stitch line above it |
Apologies that the stitch line in the photo is not more obvious. I am not a photographer and the stitch line is very faint which makes it hard to capture.
--------------------------------------------------------------------------------------------------------------------------
Skirt:
Before the bottom of the shirt is sewn on to form the skirt portion form pleats at the top.
Here is my diagram to explain how to form a pleat (well I suppose it is a double pleat...):
The pleat width is the width of fabric that will be folded to form the pleat. The diagram shows the pleat formation with the fabric right side up.
- Identify where you want your pleat
- Mark out your pleat width and the centre point (I used fabric chalk and pins to identify the edges and centre point of the pleat )
- Fold the fabric by moving the edge points to meet at the centre.
- Pin the pleat in place and check that it looks right.
- Now secure the fabric in place by sewing a line of stitching over the fold.
 |
| Front section pleat |
First, I positioned a pleat on each of the front panels at the top of the skirt piece. I measured along the top of the skirt front pieces (left and right). They were 7cm longer than the bottom of the both the front panels of the mid-section (which is 7.5 inches or 19 cm (plus button band 1.5 inches).
Measuring from the button band, I marked a width of 5cm for the edge of the pleat.
I then measured 7cm for the pleat width and marked it
Finally the centre point between these two marks.
I then folded the pleat towards the centre point
Pin and stitch it in place.
Do this on both sides of the front of the skirt. The top of skirt front will now measure the same as the the bottom of the mid-section so that they can be stitched together to attach the skirt.
Before the skirt is attached further pleats need to be created in the back of the skirt. The width of the top of the skirt was 24 inches. The bottom of the mid-section was 17 inches this meant that 7 inches needed to be reduced through the creation of the pleats.
It simplify things I decided to make each pleat width 1 inch = 7 pleats
I wanted these pleats to be evenly spaced along the back:
Divide the overall width of the back of the skirt by the number of pleats.
17 / 7 = 2.4285714
So there will be 2 inches between the pleats and an extra inch left over. This extra inch can be halved and half an inch can be added at each end.
I hope this makes sense:
2.5 ~ 1 ~ 2 ~ 1 ~ 2 ~ 1 ~ 2 ~ 1 ~ 2 ~ 1 ~ 2 ~ 1 ~ 2 ~ 1 ~ 2.5
1 2 3 4 5 6 7
The top row refers to the marking in inches.
The bottom row shows that there are 7 pleats.
Each of the 1 inch gaps marked is for a pleat width (with the centre point being at the half inch point) and the 2 inch gaps and 2.5 inches at either end.
Pin and stitch each pleat as previously done
So each 1 inch pleat is 2 inches apart.
The width of the top of the skirt back is now 17 inches
Lay out the top of the dress with the skirt with right sides together and pin them in position.
 |
| Pin skirt to top of dress |
Now stitch the skirt to secure it to the rest of the dress - the pleats on the back of the skirt look like this:
 |
| Back of dress showing 'V' and the pleats in the skirt. |
--------------------------------------------------------------------------------------------------------------------------
Sleeves:
Now I needed to sort out the arm holes and the sleeves. I decided to make use of the shirt cuffs to create a little cap sleeve on the dress.
Firstly, remove the button from each cuff (these will be useful later).
Position the cuff right sides together with the bodice of the dress at the top of the arm hole. Middle of the cuff lining up with the top of the shoulder
Make sure the button hole is at the back of the dress.
Have the cap sleeve edge pointed towards the collar.
Angle the sleeve slightly so that there is less of an overlap lower down on the arm hole and more at the shoulder top.
Pin through the cuff securing it to the bodice shoulder -stitch in place.
Trim the excess fabric from the cuff.
Hem the rest of the arm hole to make it neat.
Fold the cuff over so that the stitching is on the inside of the bodice and the cuff/sleeve stands out.
 |
inside of the armhole with the cuff attached
and a hem around the rest of the armhole |
 |
| Inside out - the back of the bodice with cuff attached. |
 |
| The Finished Sleeve and Armhole |
-------------------------------------------------------------------------------------------------------------------------
Buttons and Poppers:
Finally, I needed to focus upon the mid-section again as it needs to has fastenings to hold it together.
Instead of going to all the bother of creating button holes I simply opted to attach poppers (snap fasteners) to both of the button strips. I stitched them in place and used the two buttons from the cuffs on the top layer to cover the stitching and keep continuity.
The distance between the buttons on the shirt is 3 inches and the gap where the mid-section was inserted was 9 inches which meant that there was space for two buttons/poppers. Which were positioned in keeping with the other buttons at 3 inches apart.
 |
| Adding the poppers |
 |
The mid-section of the dress
with the two 'fake' buttons covering the poppers. |
--------------------------------------------------------------------------------------------------------------------------
The Finished Dress:
A few pictures of me messing about outside in the rain - it was absolutely chucking it down!