Showing posts with label Cream. Show all posts

Monday, 4 June 2012

Diamond Jubilee Recipe - Strawberries and Cream Pie


Jubilee Strawberry and Cream Pie


To Commemorate the Queen's Diamond Jubilee
1952 -2012


I felt that I had to do something a bit special for the Queen's Diamond Jubilee celebrations. After a bit of thought I decided to put my own spin on the traditional British cream tea - scones with jam and cream.


Pastry:
I decided to make 'pastry' which is a bit more like a scone mix - so that the pie reflects the cream tea theme a bit more.

Ingredients:

125g of self raising flour
A pinch of salt
55g of butter
25g of caster sugar
30-45ml of milk


What to do:

  • Put the flour and salt in a large bowl
  • Rub in the butter until the mixture resembles bread crumbs.
  • Stir in the sugar and the milk until it resembles a dough that can be rolled out.
  • Prepare oven dish/pan
  • Roll out the dough to fit the pan.
  • Roll out the left over dough and cut six long strips.
  • Make the rim of the pie by making two plaits using three of the strips for each.
  • Paint the pie with milk using a pastry brush - the milk acts like a glue to help attach the plaits
  • Paint the plaits with milk
  • (If you want to make a little crown shape out of pastry to cover the plaits join at the top like me you can... but it may end up looking more like a bobble hat...)
Alternatively, make mini pies using a cupcake tray to shape them.

Place pie crust in the oven


  • Cook at 180 degrees C for proximately 15 mins.
  • Allow to cool.


  • Filling:

    Ingredients:

    Strawberry or Raspberry Jam (Jelly)
    200g of cream cheese
    100g of caster sugar
    A few drops of vanilla essence
    Strawberries
    What to do: 
    • When cool turn the pastry out of the pan
    • Spread a layer of jam (jelly) over the base of the pastry
    • Now mix the cream cheese, caster sugar and the vanilla essence together.
    • Spread a thick layer of the cream cheese topping over the layer of jam
    • Decorate with a layer of fresh strawberries.
    • Place in the fridge to cool.
    • Serve and enjoy the jubilee celebrations!


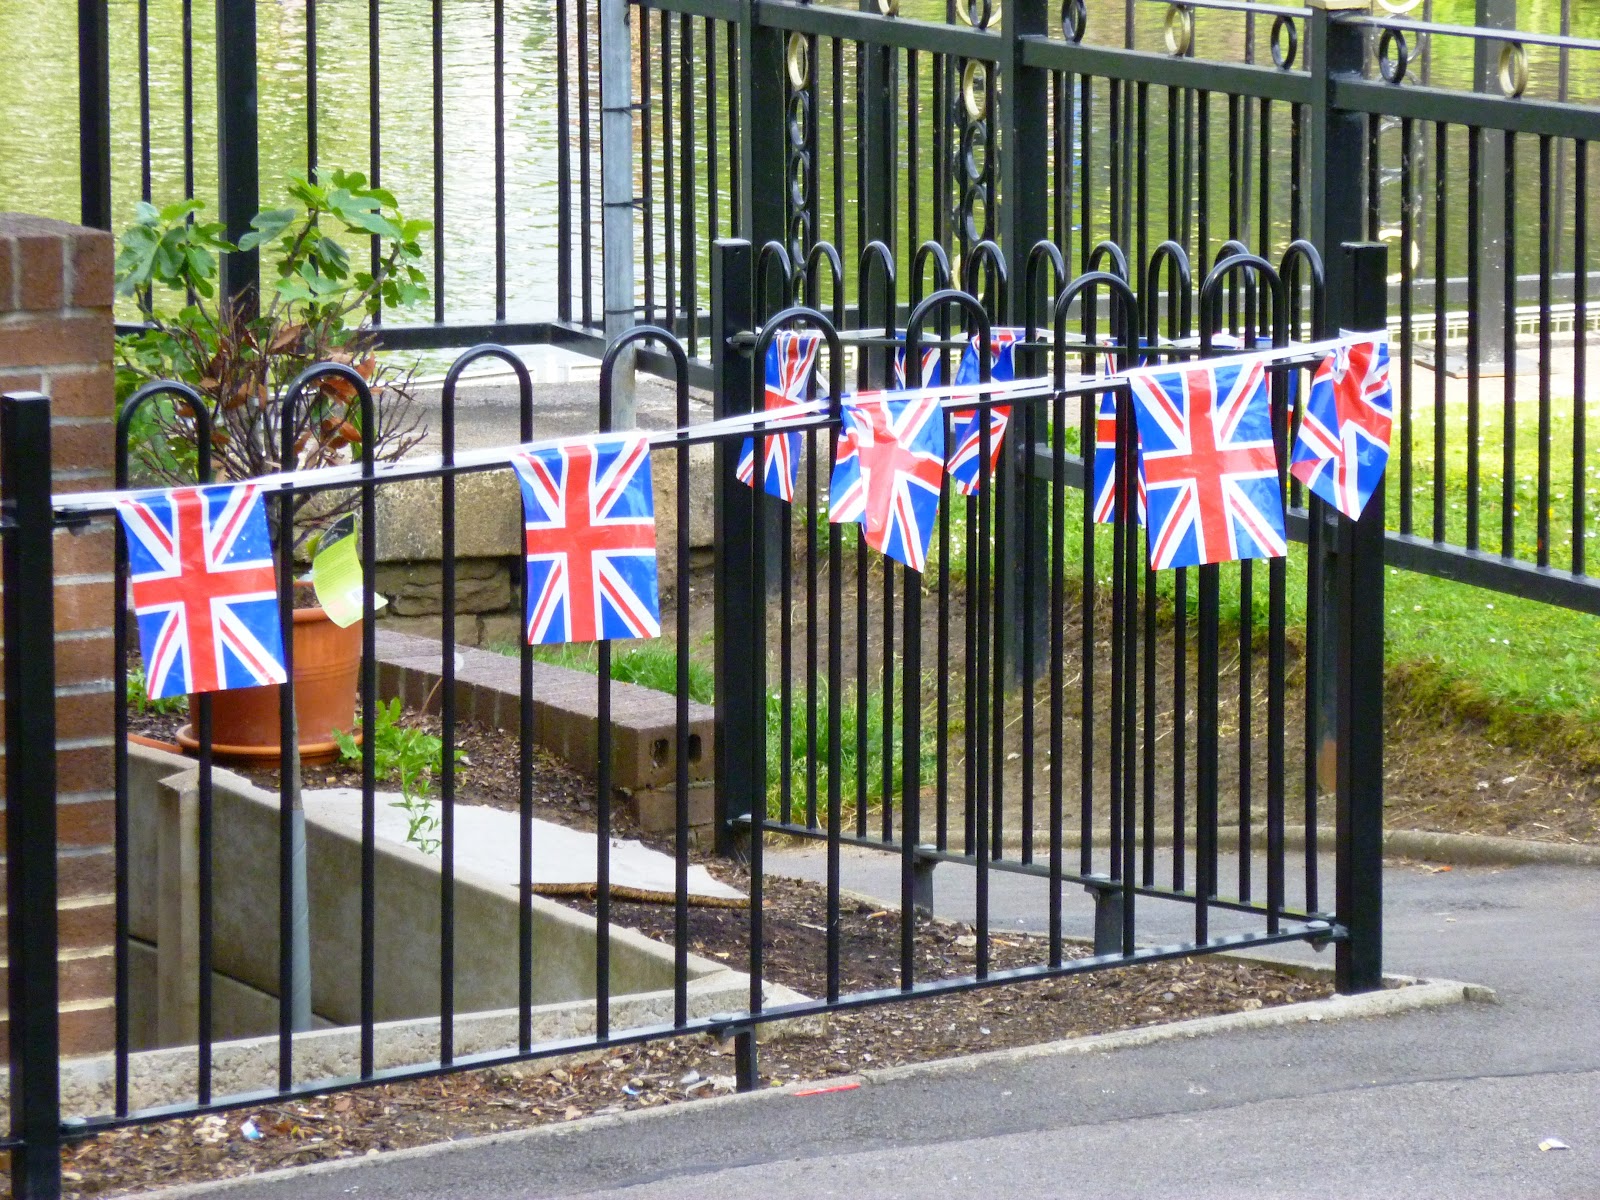
    A few pictures from our walk around the park today where we saw lots of birds and jubilee celebration bunting:



    Friday, 18 May 2012

    CCK Hot Chocolate


    Yummy!


    While checking out pictures on pinterest I noticed this really attractive picture of a big mug of hot chocolate (click link to see photo). It just looked so yummy! When I clicked on the link to the Chocolate Covered Katie webpage it had been given the title "The Perfect Hot Chocolate" - so I thought that I would give it a go.

    I really liked the idea of making it with coconut milk from a tin... I am not sure why, but it just appealed to me. I made it on the hob rather than the microwave and as I was making it for both myself and S I doubled the recipe.

    So following the recipe chose to use:
    What you need (non-vegan version)


  • 1 1/3 cup of semi-skimmed milk
  • 2/3 cup full-fat canned coconut milk
  • 4 T cocoa powder
  • 1/8 tsp salt
  • 1 tsp vanilla
  • 2 tablespoons sugar


  • Click here to see the recipe on Chocolate Covered Katie.

    I combined all the ingredients on the hob and made sure that it was completely mixed and heated through.

    Add the ingredients to the pan.
    Mix well.

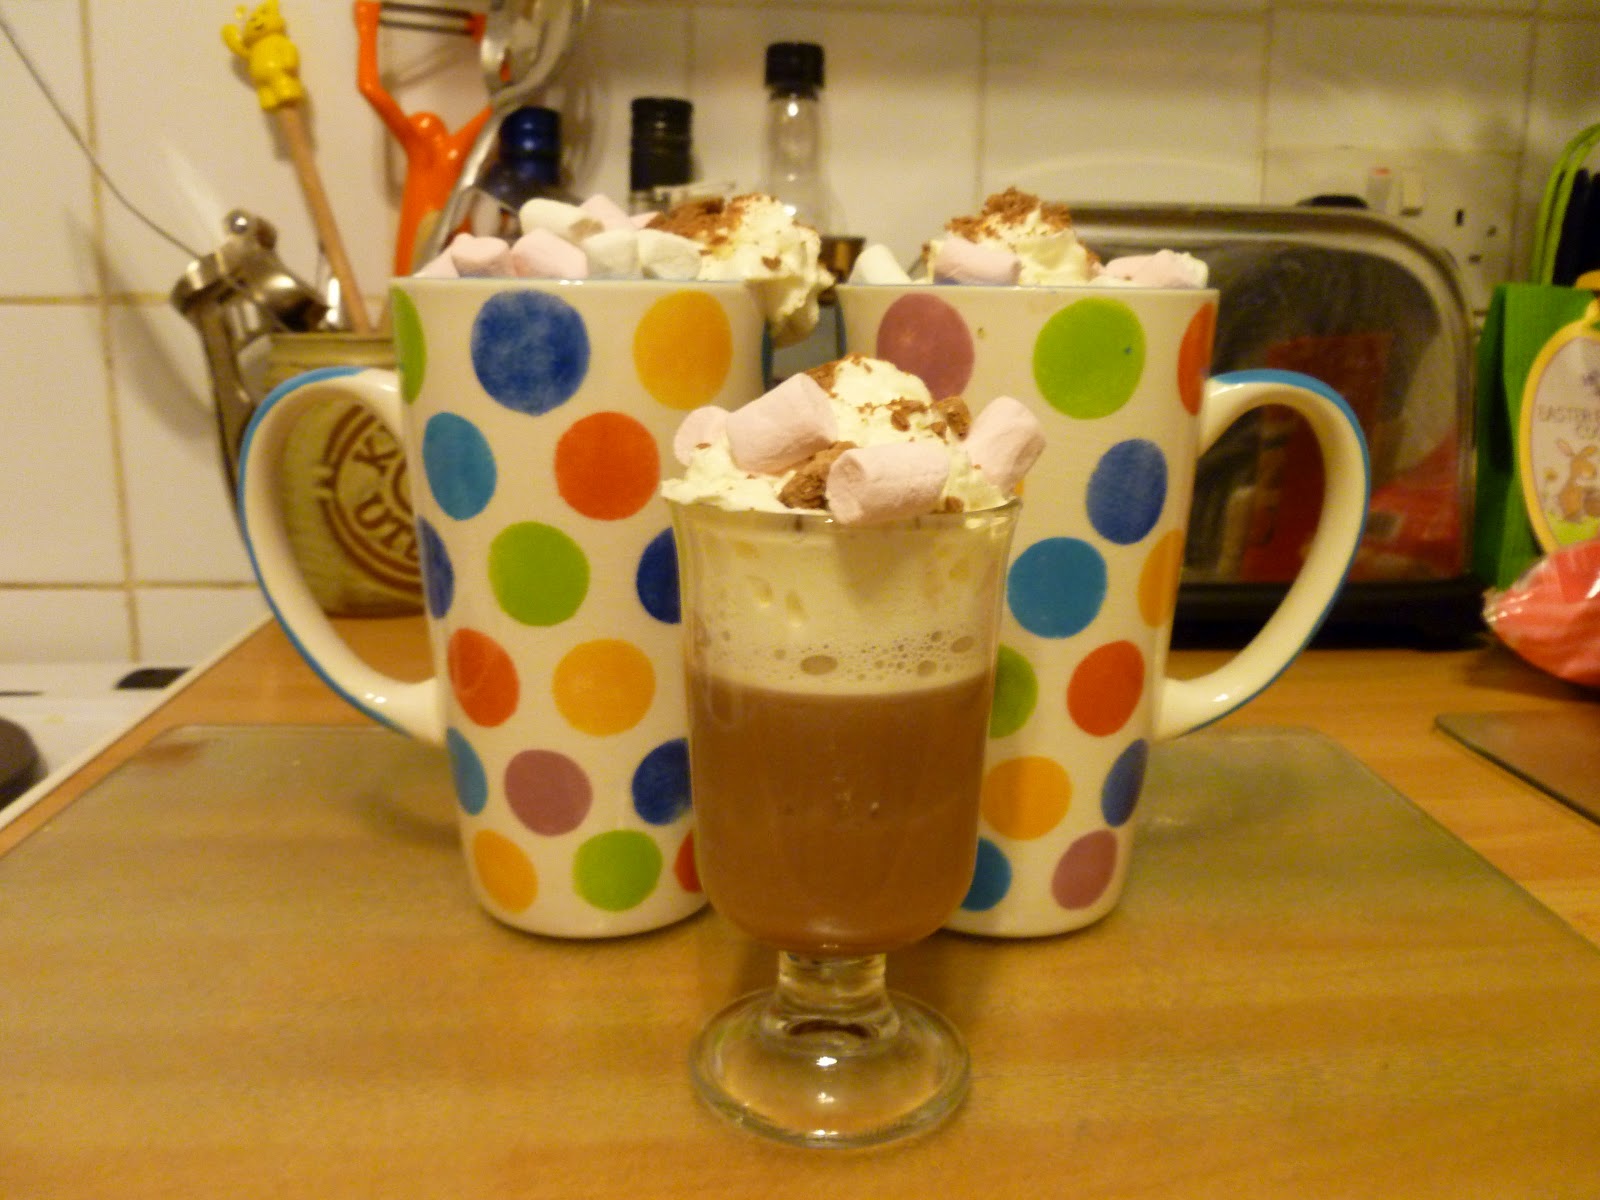
    When poured into the mugs I let my creative side take over... yey for marshmallows!

    Here is the result:
    The finished hot chocolate!


    Not only did it make two huge mugs (believe me the spotty mugs are massive!) but it also made a small hot chocolate as well! Rather more than I was expecting (probably my fault as I am more used to working in mls rather than cups). As hot chocolate goes - it was nice, although I probably wouldn't go to the effort of making it again as it was a wee bit too rich and creamy for my tastes. S seemed to like it - but I didn't manage to finish my mug.  However, it was fun to make and made the kitchen smell really chocolaty... I can't wait to try some more of the recipes from Chocolate Covered Katie!


    Friday, 11 May 2012

    Chocolate Orange Cake

    Very Yummy!
    This is one of my favourite cake recipes; i love it because it always produces a nice moist sponge and is relatively quick and easy to make. However, it is a rather rich cake so I would recommend having a small slice - although some of my friends have managed to eat huge slices in the past! Hope you enjoy this cake as much as I do...  

    Cake Mix:

    75g cocoa
    3/4 teaspoon bicarbonate of soda
    100ml boiling water
    100ml orange juice
    300g golden sugar
    4 eggs
    1 teaspoon of vanilla
    1 teaspoon of orange essence
    180ml light olive oil
    200g self raising flour

    To Decorate:

    300ml pot of fresh whipping cream
    glace cherries

    This cake always turns out well and looks great!


    What to do:

    1. Pre-heat oven to 170 degree's C
    2. Mix the cocoa and bicarbonate of soda with the boiling water - once dissolved add the orange juice and leave to one side
    3. Prepare tins
    4. Beat sugar and eggs together until light and creamy.
    5. Add vanilla and orange essence and continue beating
    6. Add the flour
    7. Add the cocoa solution - beat until consistency of double cream
    8. Pour batter into tins
    9. Bake for 25-30 mins
    10. When cool decorate with freshly whipped cream and cherries!

    I love cutting into a freshly homemade cake!


    Related Posts Plugin for WordPress, Blogger...