Showing posts with label Pudding. Show all posts

Monday, 4 June 2012

Diamond Jubilee Recipe - Strawberries and Cream Pie


Jubilee Strawberry and Cream Pie


To Commemorate the Queen's Diamond Jubilee
1952 -2012


I felt that I had to do something a bit special for the Queen's Diamond Jubilee celebrations. After a bit of thought I decided to put my own spin on the traditional British cream tea - scones with jam and cream.


Pastry:
I decided to make 'pastry' which is a bit more like a scone mix - so that the pie reflects the cream tea theme a bit more.

Ingredients:

125g of self raising flour
A pinch of salt
55g of butter
25g of caster sugar
30-45ml of milk


What to do:

  • Put the flour and salt in a large bowl
  • Rub in the butter until the mixture resembles bread crumbs.
  • Stir in the sugar and the milk until it resembles a dough that can be rolled out.
  • Prepare oven dish/pan
  • Roll out the dough to fit the pan.
  • Roll out the left over dough and cut six long strips.
  • Make the rim of the pie by making two plaits using three of the strips for each.
  • Paint the pie with milk using a pastry brush - the milk acts like a glue to help attach the plaits
  • Paint the plaits with milk
  • (If you want to make a little crown shape out of pastry to cover the plaits join at the top like me you can... but it may end up looking more like a bobble hat...)
Alternatively, make mini pies using a cupcake tray to shape them.

Place pie crust in the oven


  • Cook at 180 degrees C for proximately 15 mins.
  • Allow to cool.


  • Filling:

    Ingredients:

    Strawberry or Raspberry Jam (Jelly)
    200g of cream cheese
    100g of caster sugar
    A few drops of vanilla essence
    Strawberries
    What to do: 
    • When cool turn the pastry out of the pan
    • Spread a layer of jam (jelly) over the base of the pastry
    • Now mix the cream cheese, caster sugar and the vanilla essence together.
    • Spread a thick layer of the cream cheese topping over the layer of jam
    • Decorate with a layer of fresh strawberries.
    • Place in the fridge to cool.
    • Serve and enjoy the jubilee celebrations!


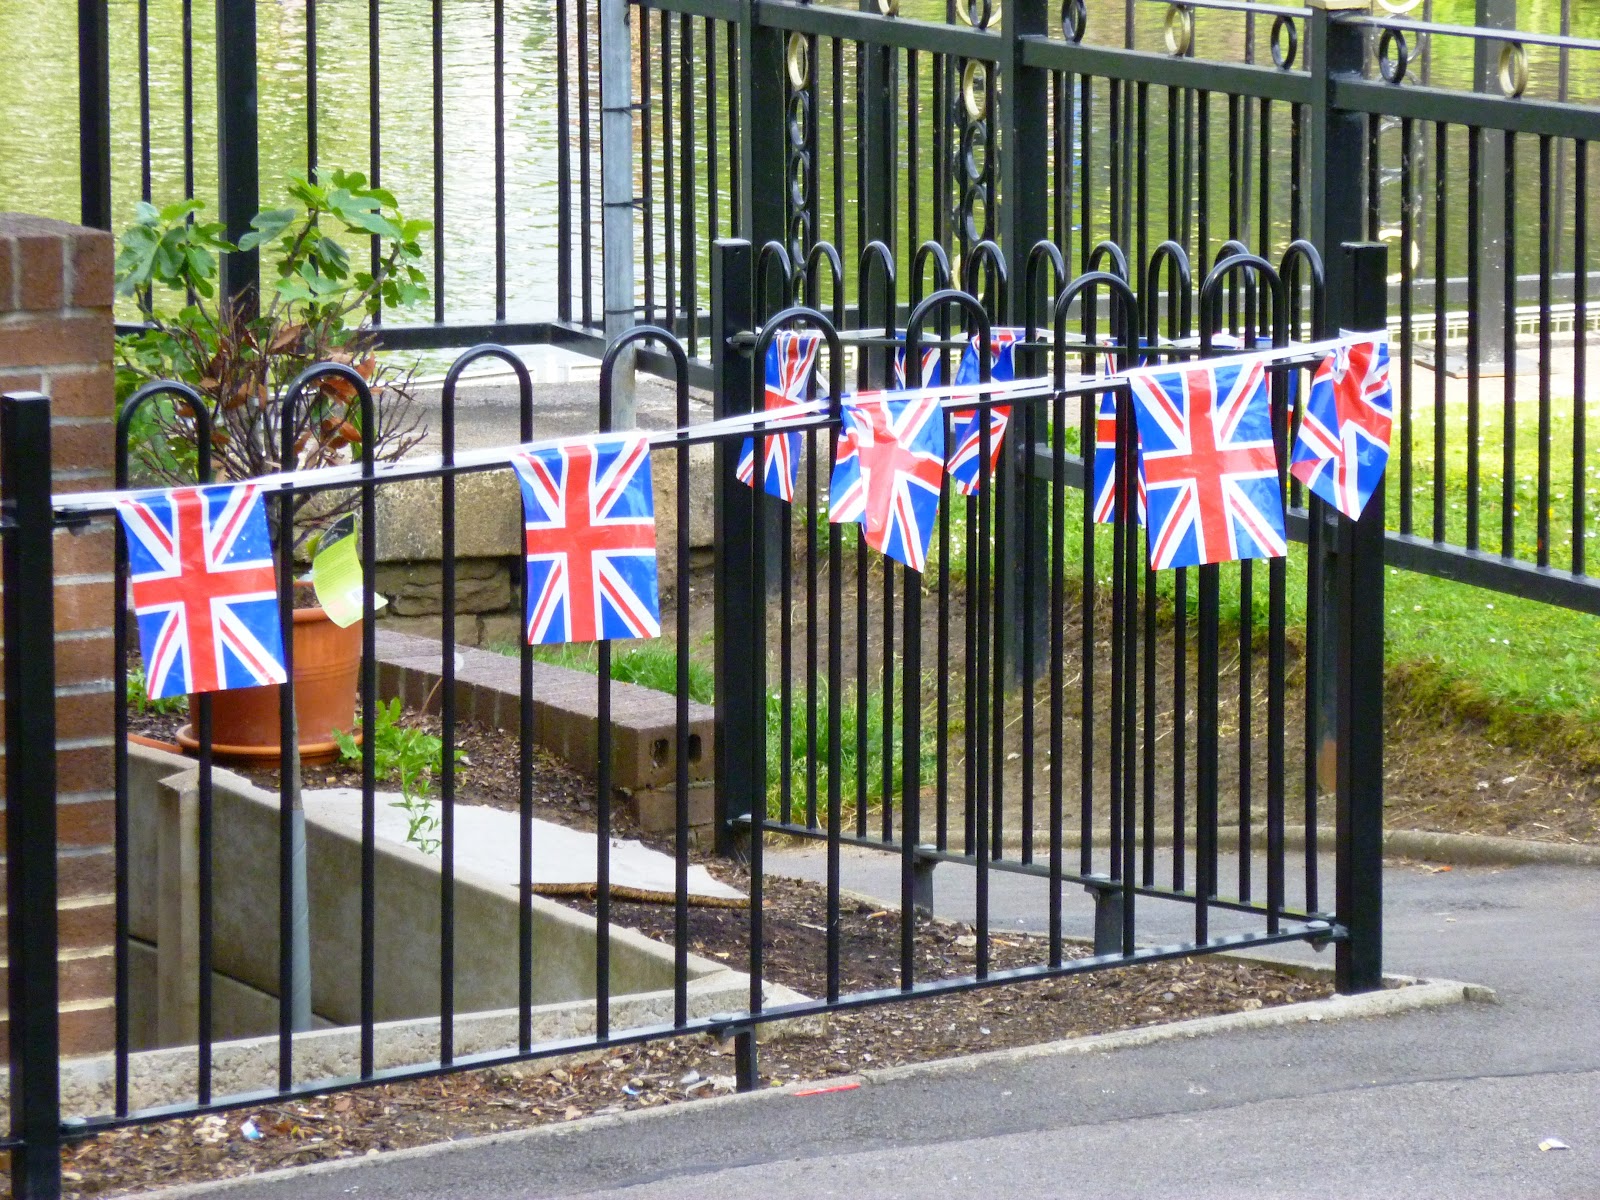
    A few pictures from our walk around the park today where we saw lots of birds and jubilee celebration bunting:



    Thursday, 31 May 2012

    Smoothie Ice Lollies

    Smoothie ice lollies


    With all the nice warm weather we have been having recently it seemed the right time to make some ice lollies to cool us down. I have been buying lollies and choc-ices from the shops which is great - but they make you feel rather unhealthy and often taste a bit chemically with the artificial flavours.

    So here is my healthy alternative: smoothie pops!

    My Mum bought me some really cute bunny rabbit ice lolly molds last summer and I have used them a lot. Sometimes they simply double-up as an ice cube tray alternative.

    My smoothie ice lollies are really simple to make and to customise to your tastes. Best of all they are made from real fruit.


    Here is the recipe for the one I made this week (it makes a large quantity):


    What you need:

    2 bananas
    340g of pineapple
    160g of peaches
    250g of mixed summer fruits (already frozen)
    180ml of pineapple juice


    What you need to do:

    • Place all the fruit and the juice together in a blender
    • Blend until the mixture is smooth and will easily pour
    • Pour into ice lolly molds
    • Freeze overnight
    • Enjoy while sitting in the sunshine the next day!

    It is as simple as that - and they are so yummy!


    Bunny Rabbit Ice lolly Molds


    Wednesday, 16 May 2012

    Cinnamon Toffee Pear Pie

    Cinnamon Toffee Pear Pie with Vanilla Ice Cream

    I really love cinnamon! This is a great little desert and such a nice treat for any time of the year -although it really is an autumn pudding rather than a spring one...


    Shortcrust pastry
    Make up a basic sweet shortcrust pastry:

    What you need:
    235g plain flour
    100g butter
    2 tablespoons of caster sugar
    A pinch of salt
    Milk (just a little!)                   


    What you need to do:
    1. Weigh out the flour, sugar and butter.
    2. Mix the dry ingredients (flour/sugar/salt) together in a bowl.
    3. Add the butter 
    4. Rub in the butter until it resembles a bread-crumb texture
    5. Add a little milk to make the mixture bind together (if it is required).
    6. Mix until it resembles the dough in the above picture.
    7. Wrap in cling film and place the pastry dough in the fridge for about half an hour.
    8. In this time you can prepare the ramekins (makes 4) or large dish. 
    9.  If making four smaller pies you need to divide the dough into equal amounts.
    10. Roll the dough out on a floured surface - then shape it to fit your chosen dish (or dishes)
    11. Place in an oven that has been preheated to 180 degrees C for 8 mins so that the pastry is partially cooked.


    Pear Halves
    Prepare the filling:

    What you need:
    1 tin of pears
    4 tablespoons of caster sugar
    1 knob of butter
    1 teaspoon of ground cinnamon
    1 tablespoon of honey

     What you need to do:
    1. Place the sugar, cinnamon, honey and butter in a saucepan
    2. Open the tin of pears and add some of the syrup/grape juice from the tin into the pan (just a little -enough to make the dry ingredients wet... if that makes sense)
    3. Place the pan on the hob and stir while the mixture heats up.
    4. Pay careful attention to the mixture as it bubbles as it thickens changes to a toffee-like caramel consistency.
    5. Watch out for the bubbles as you need to make sure it doesn't burn.
    6. When it is nice and toffee-like remove the pan from the heat.


    1. Now place the pear halves in the pie crust; spread them evenly between the 4 ramekins (or over the single pie crust)
    2. Pour the cinnamon toffee over the pear halves.
    3. Place pies back in the oven and bake for approximately 12 mins.
    4. Leave pies to cool a little so that the ramekins can be handled and the toffee has thickened.
    5. Serve with vanilla ice cream!
    6. Enjoy!
    Cinnamon Toffee Pear Pie with Vanilla Ice Cream


    Monday, 14 May 2012

    Mini Microwave Cake


    Raspberry and coconut mini microwave cake!


    This is a really simple cake to make. I made it this afternoon when S came home from work and said he had had a tough day. Cake is always good to cheer people up!

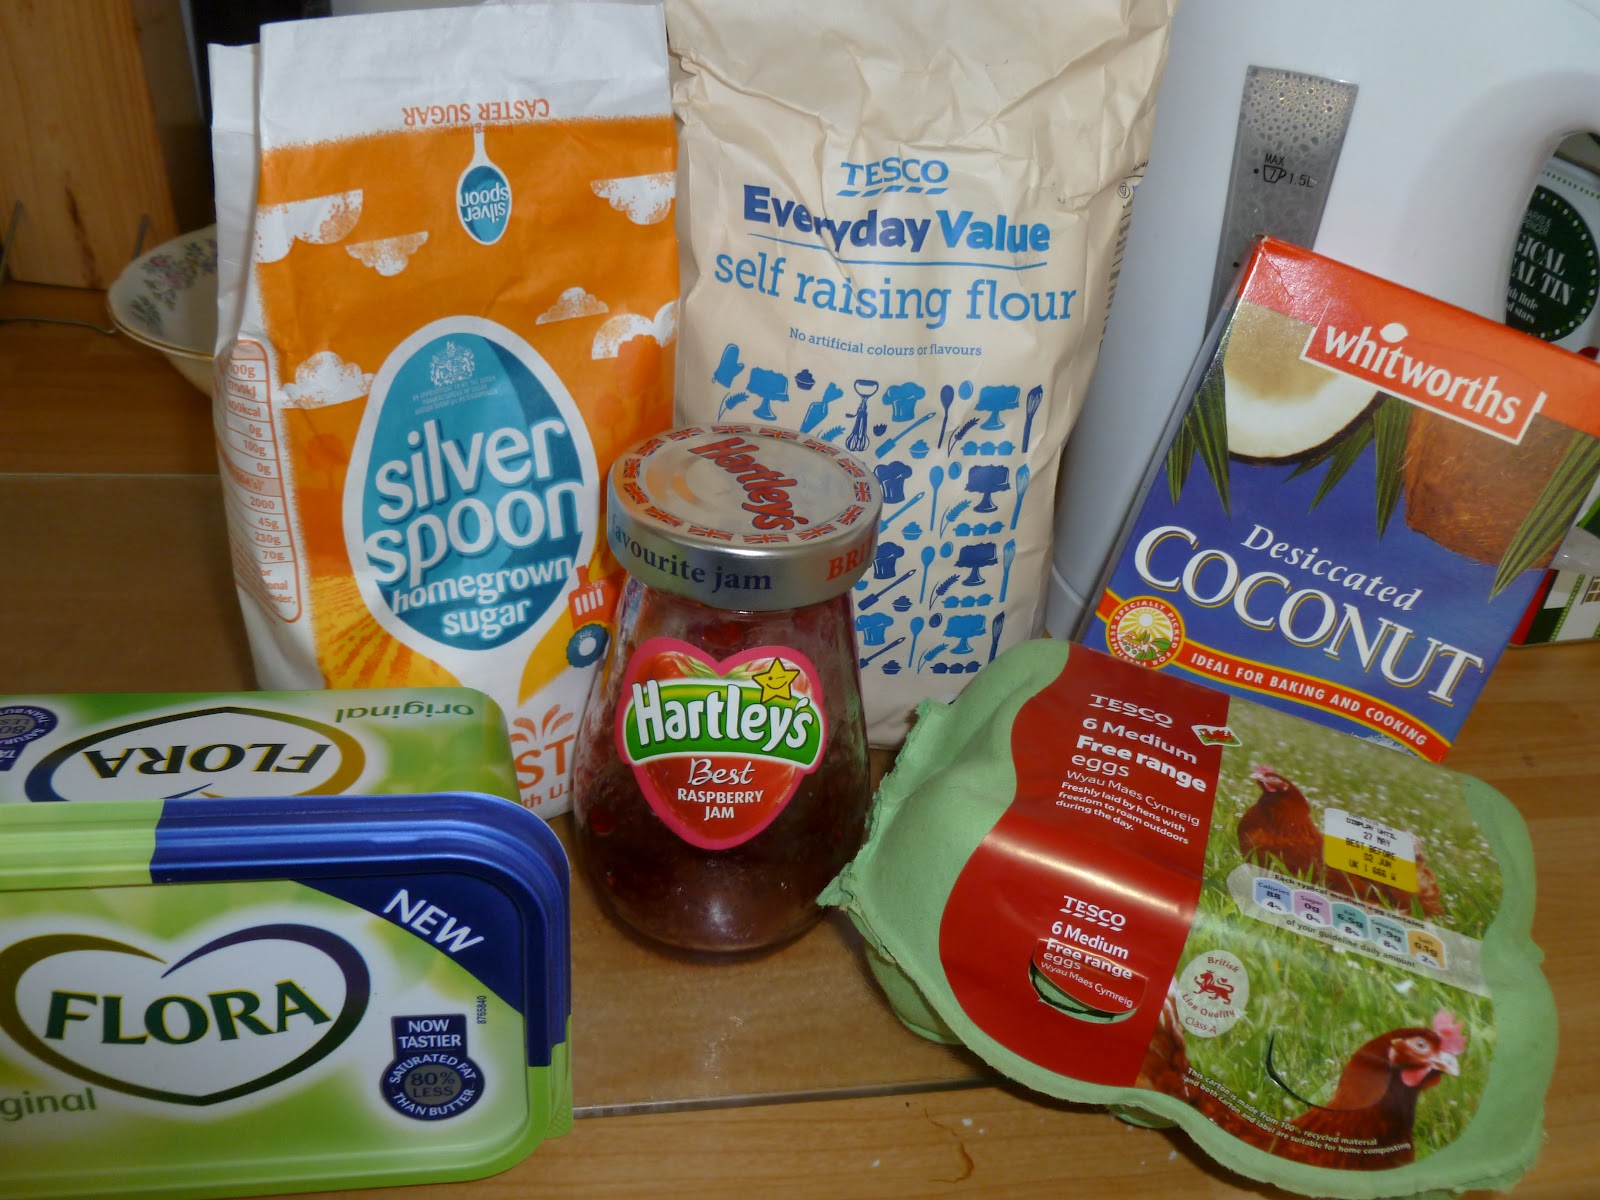
    What you need.


    What you will need:


    1 oz caster sugar
    1 oz self raising flour
    1 oz butter or flora (alternatively use olive oil)
    1 teaspoon of baking powder
    1 egg

    desiccated coconut (to taste)
    raspberry jam* (to taste)              
                                                                                                                                      

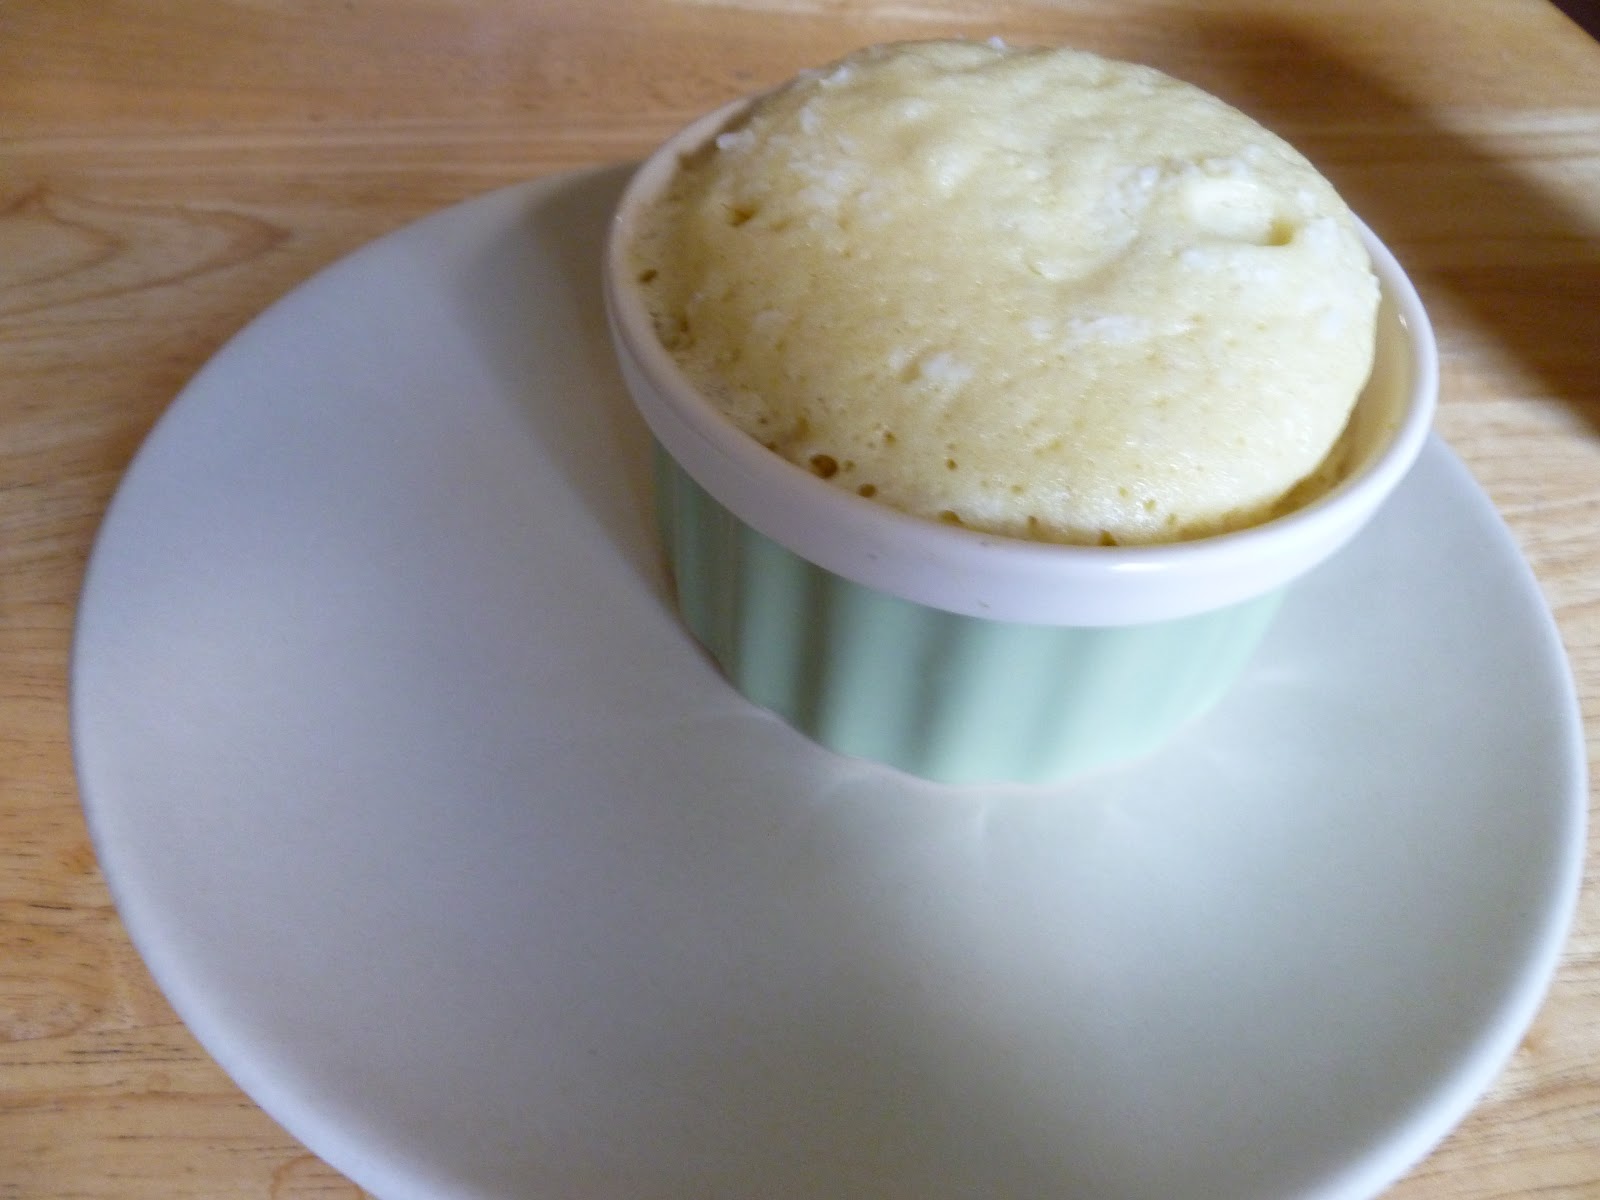
    Ready to go in the microwave.
    Notice that I have sprinkled a little more coconut on the top...

    1. Mix the butter and caster sugar together
    2. Beat the egg and add it to the sugar and butter
    3. Add in the flour, baking powder and the desiccated coconut
    4. Mix well
    5. Prepare 2 microwave safe ramekins
    6. Pour a little of the mix into the bottom of each ramekin.
    7. Place about 1 and a half teaspoons of jam into the centre
    8. Pour the rest of the mix over the jam in both ramekins
    9. Now place one of the ramekins in the microwave on full power**
    10. Heat for approximately 1 min 30 seconds (depending upon your microwaves power)
    11. Repeat cooking process for the second ramekin
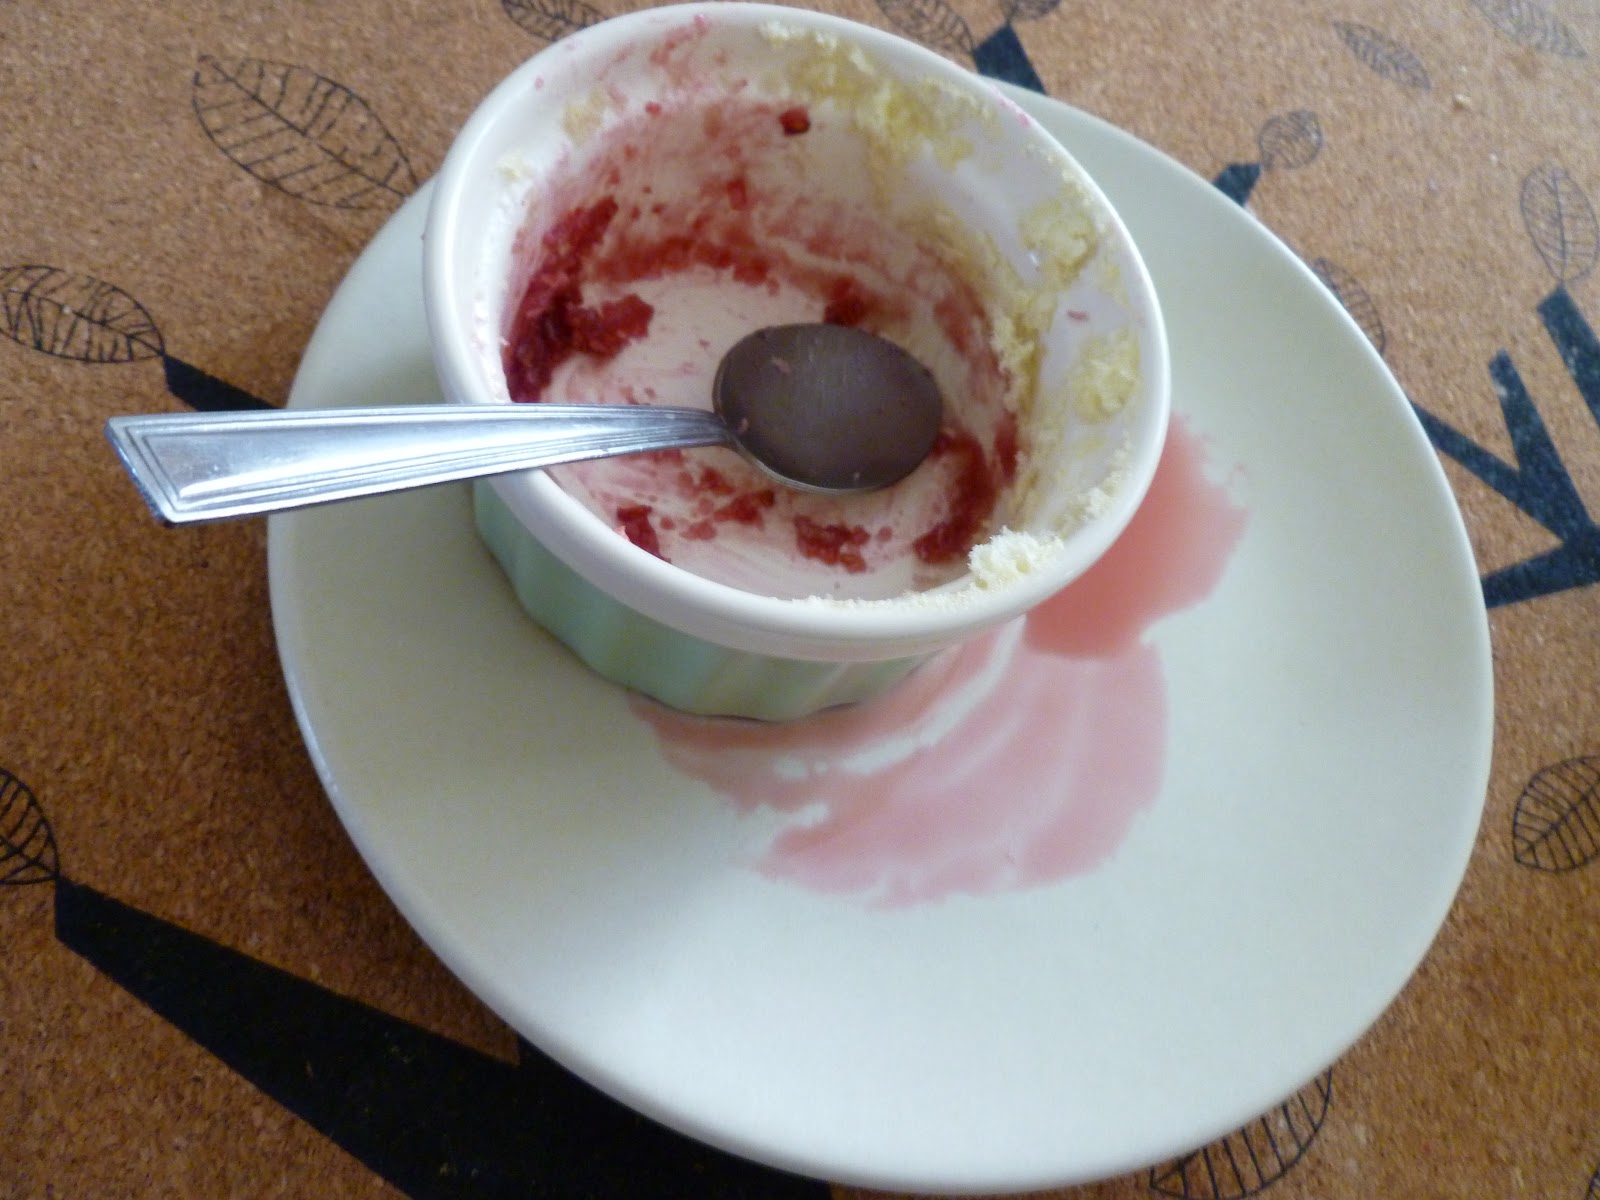
    12. I decorated the cake with raspberry sauce to make it look pretty (see below)
    13. Enjoy!


     *jelly- for all the Americans reading this.
    **or in the case of my current microwave which is very powerful I put it on setting 9 (out of 10); adjust according to your microwaves power.


    Related Posts Plugin for WordPress, Blogger...