Showing posts with label Food.. Show all posts

Saturday, 23 June 2012

French Toast with Cinnamon and Sugar

French toast is one of my favourite treats. 'French toast' is the 'posh' name for it; I usually call it "eggy-bread" which is far more parochial. It is one of those treats that I find myself craving every now and then - the great thing about it is simply how easy it is to make!


'eggy-bread'


All you need is:

6 slices of white bread (may vary due to thickness of bread slices)
2 eggs
1/2 a cup of milk
Some oil to grease the pan


For the Topping:

Cinnamon and Sugar     {my personal favourite!}
... or whatever you fancy (syrup, jam, honey...)


  • Crack the eggs into a bowl and add the milk
  • Beat the eggs and milk together
  • I normally cut each of the slices into quarters  - it just makes it easier to fit in the pan. 
  • (Either squares or triangles - personally I think that things taste better when they are triangular. Unfortunately S. cut the bread this time so we have square eggy-bread pieces!)
  • Coat a frying pan with a thin layer of oil and heat on the hob
  • Dunk the pieces of bread in the egg and milk mixture so they are coated on both sides
  • Make sure the pan is hot
  • Drop the now coated bread into the hot pan
  • Turn the bread over to make sure that the egg is cooked on both sides
  • When it is done remove from pan
  • Sprinkle plenty of cinnamon and sugar over it (or whatever you feel like having on it...)
  • Enjoy!


Wednesday, 23 May 2012

Easter Cookies

About to make cookies


S gave me this cookie cutter and mix set for Easter and I just haven't got around to making them. Well last night we decided to give it a go. 


The mix is from Whittard - one of my favourite shops! I love all their cute mugs!

All I needed to do was add a an egg, butter and some milk.  Mix it up!


My heart shaped bowl is super cute!


Making the dough up was easy enough and the little egg shape cookie cutter was  a nice size. Now fot the fun bit - decorating them!


Now they are ready for the oven...


And finally we have the finished cookies! The one on the right is mine!


Wednesday, 16 May 2012

Cinnamon Toffee Pear Pie

Cinnamon Toffee Pear Pie with Vanilla Ice Cream

I really love cinnamon! This is a great little desert and such a nice treat for any time of the year -although it really is an autumn pudding rather than a spring one...


Shortcrust pastry
Make up a basic sweet shortcrust pastry:

What you need:
235g plain flour
100g butter
2 tablespoons of caster sugar
A pinch of salt
Milk (just a little!)                   


What you need to do:
  1. Weigh out the flour, sugar and butter.
  2. Mix the dry ingredients (flour/sugar/salt) together in a bowl.
  3. Add the butter 
  4. Rub in the butter until it resembles a bread-crumb texture
  5. Add a little milk to make the mixture bind together (if it is required).
  6. Mix until it resembles the dough in the above picture.
  7. Wrap in cling film and place the pastry dough in the fridge for about half an hour.
  8. In this time you can prepare the ramekins (makes 4) or large dish. 
  9.  If making four smaller pies you need to divide the dough into equal amounts.
  10. Roll the dough out on a floured surface - then shape it to fit your chosen dish (or dishes)
  11. Place in an oven that has been preheated to 180 degrees C for 8 mins so that the pastry is partially cooked.


Pear Halves
Prepare the filling:

What you need:
1 tin of pears
4 tablespoons of caster sugar
1 knob of butter
1 teaspoon of ground cinnamon
1 tablespoon of honey

 What you need to do:
  1. Place the sugar, cinnamon, honey and butter in a saucepan
  2. Open the tin of pears and add some of the syrup/grape juice from the tin into the pan (just a little -enough to make the dry ingredients wet... if that makes sense)
  3. Place the pan on the hob and stir while the mixture heats up.
  4. Pay careful attention to the mixture as it bubbles as it thickens changes to a toffee-like caramel consistency.
  5. Watch out for the bubbles as you need to make sure it doesn't burn.
  6. When it is nice and toffee-like remove the pan from the heat.


  1. Now place the pear halves in the pie crust; spread them evenly between the 4 ramekins (or over the single pie crust)
  2. Pour the cinnamon toffee over the pear halves.
  3. Place pies back in the oven and bake for approximately 12 mins.
  4. Leave pies to cool a little so that the ramekins can be handled and the toffee has thickened.
  5. Serve with vanilla ice cream!
  6. Enjoy!
Cinnamon Toffee Pear Pie with Vanilla Ice Cream


Monday, 14 May 2012

Mini Microwave Cake


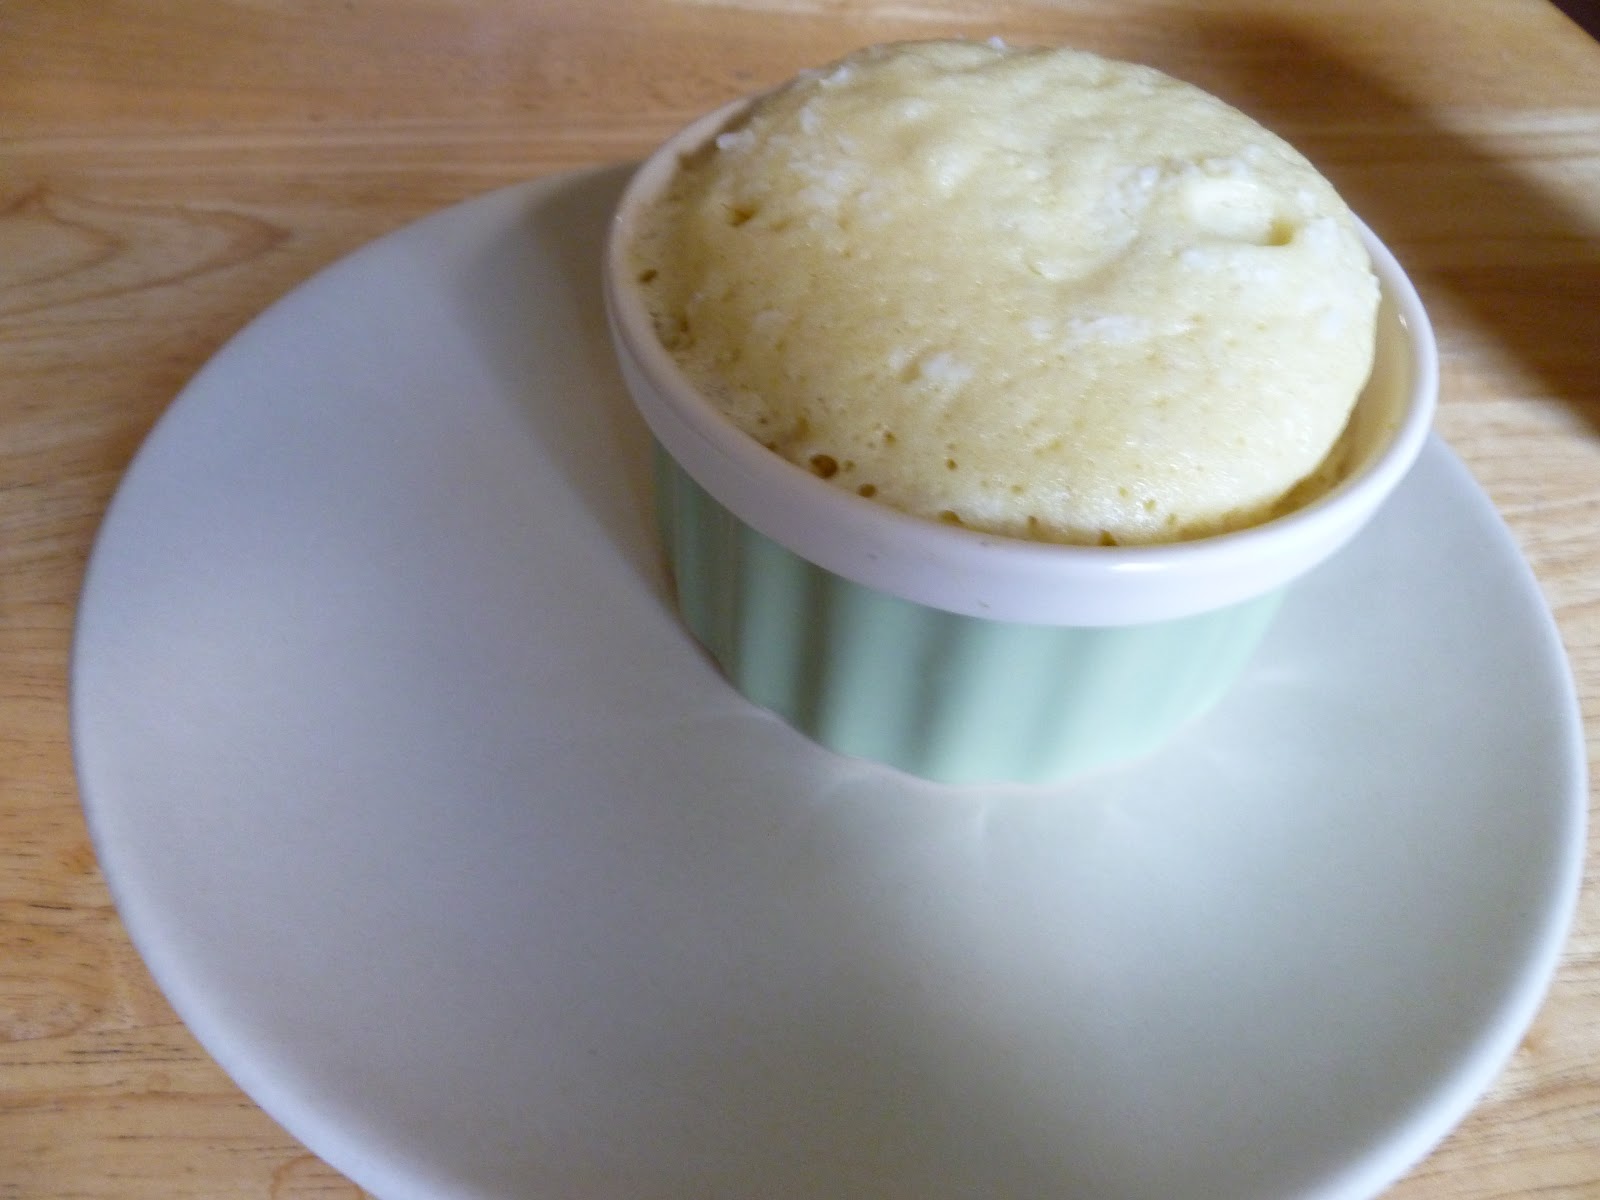
Raspberry and coconut mini microwave cake!


This is a really simple cake to make. I made it this afternoon when S came home from work and said he had had a tough day. Cake is always good to cheer people up!

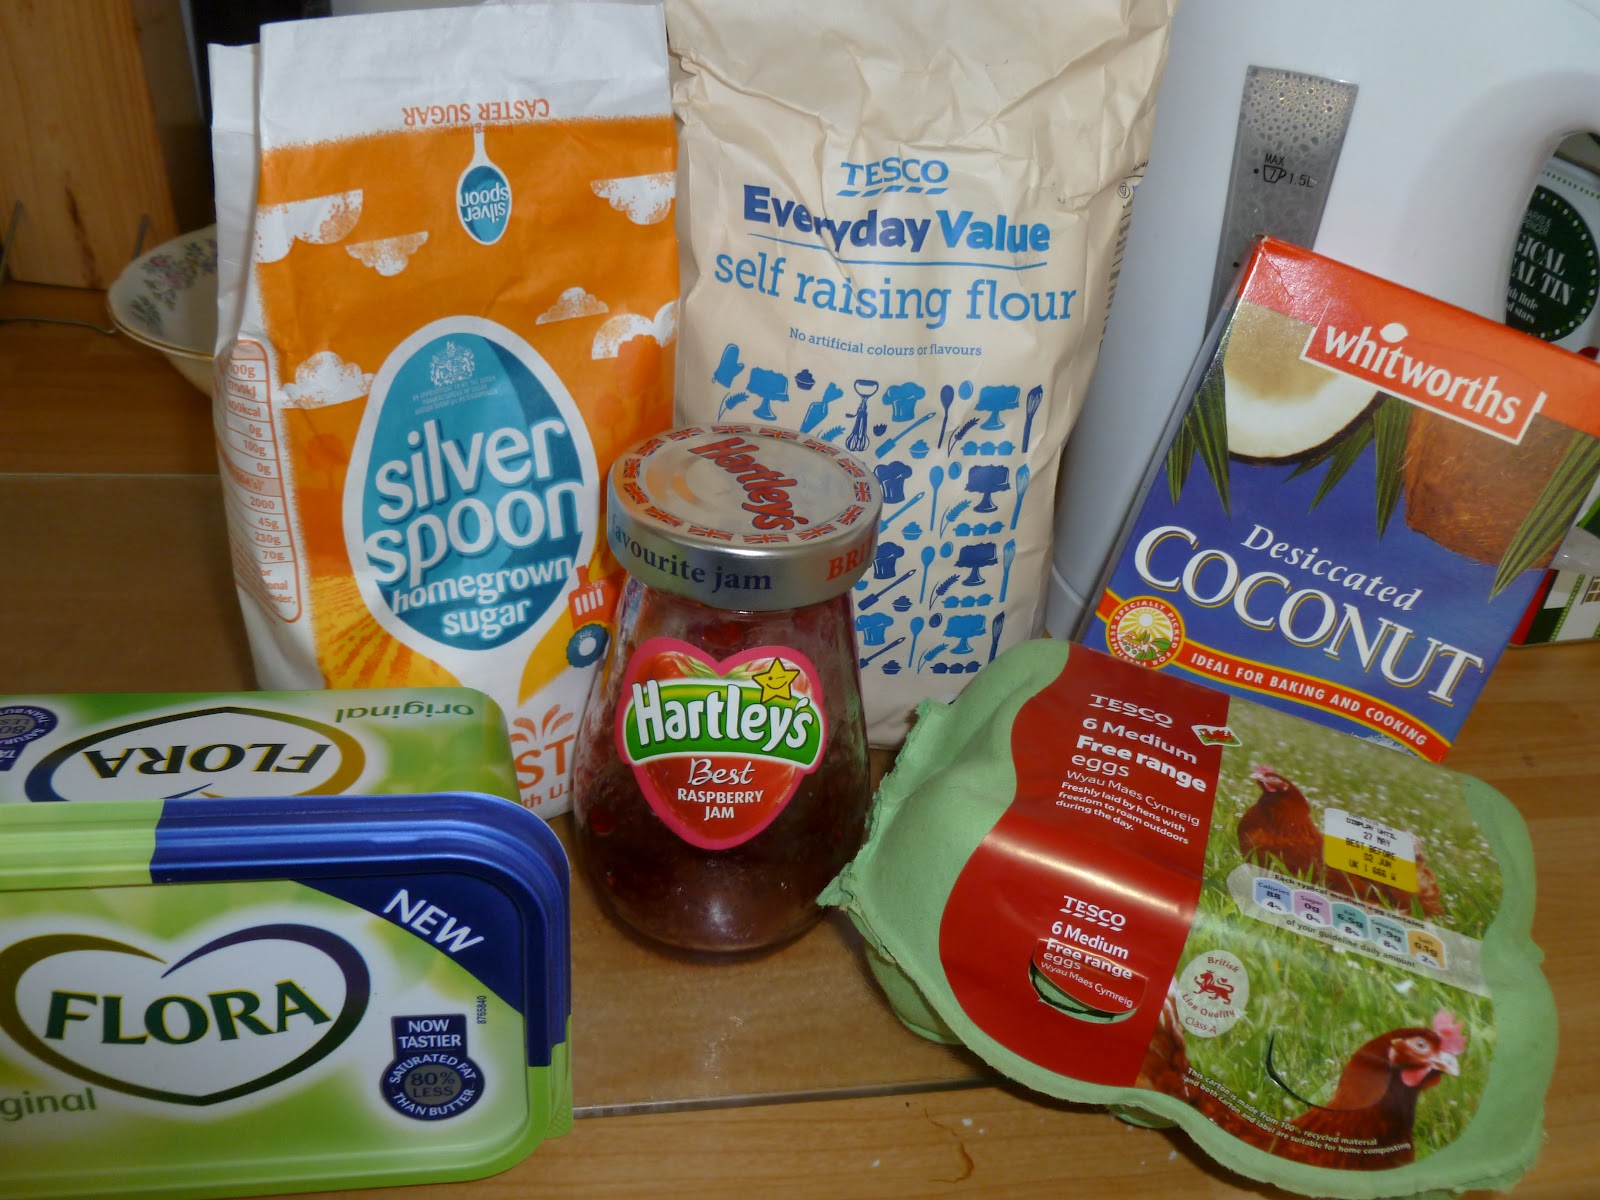
What you need.


What you will need:


1 oz caster sugar
1 oz self raising flour
1 oz butter or flora (alternatively use olive oil)
1 teaspoon of baking powder
1 egg

desiccated coconut (to taste)
raspberry jam* (to taste)              
                                                                                                                                  

Ready to go in the microwave.
Notice that I have sprinkled a little more coconut on the top...

  1. Mix the butter and caster sugar together
  2. Beat the egg and add it to the sugar and butter
  3. Add in the flour, baking powder and the desiccated coconut
  4. Mix well
  5. Prepare 2 microwave safe ramekins
  6. Pour a little of the mix into the bottom of each ramekin.
  7. Place about 1 and a half teaspoons of jam into the centre
  8. Pour the rest of the mix over the jam in both ramekins
  9. Now place one of the ramekins in the microwave on full power**
  10. Heat for approximately 1 min 30 seconds (depending upon your microwaves power)
  11. Repeat cooking process for the second ramekin
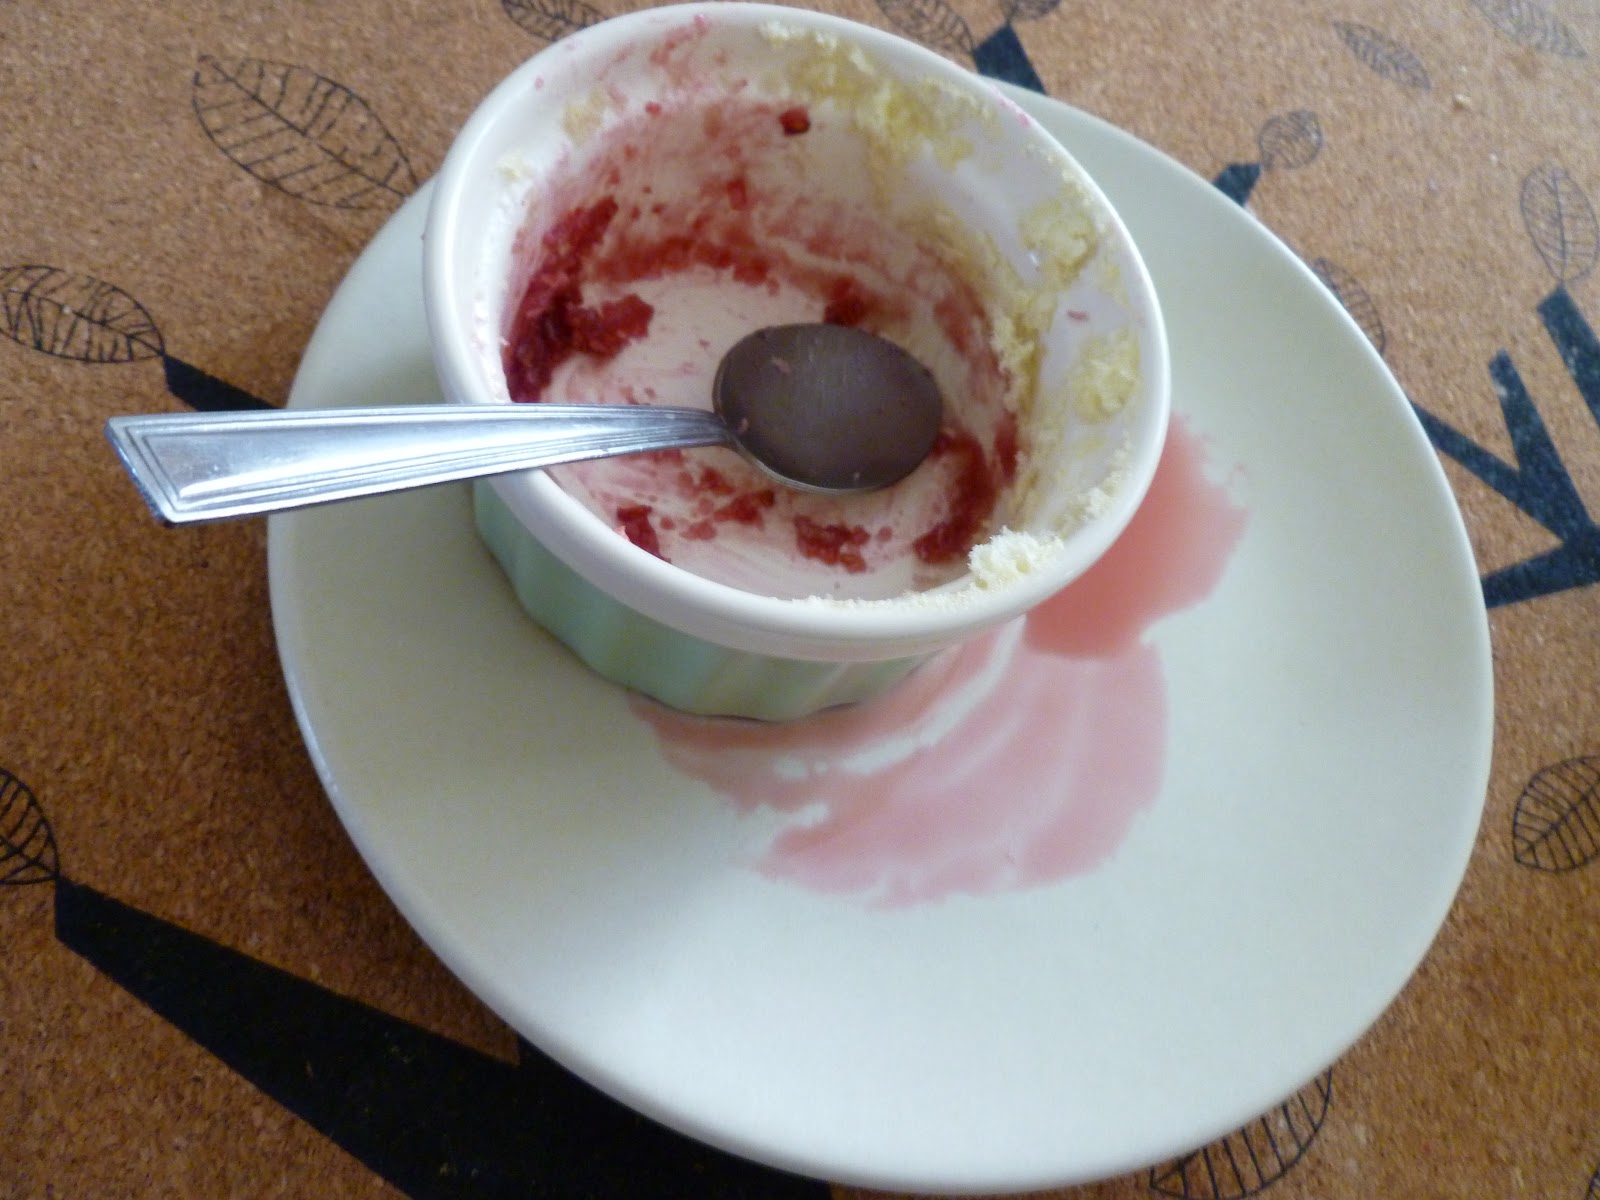
  12. I decorated the cake with raspberry sauce to make it look pretty (see below)
  13. Enjoy!


 *jelly- for all the Americans reading this.
**or in the case of my current microwave which is very powerful I put it on setting 9 (out of 10); adjust according to your microwaves power.


Friday, 11 May 2012

Chocolate Orange Cake

Very Yummy!
This is one of my favourite cake recipes; i love it because it always produces a nice moist sponge and is relatively quick and easy to make. However, it is a rather rich cake so I would recommend having a small slice - although some of my friends have managed to eat huge slices in the past! Hope you enjoy this cake as much as I do...  

Cake Mix:

75g cocoa
3/4 teaspoon bicarbonate of soda
100ml boiling water
100ml orange juice
300g golden sugar
4 eggs
1 teaspoon of vanilla
1 teaspoon of orange essence
180ml light olive oil
200g self raising flour

To Decorate:

300ml pot of fresh whipping cream
glace cherries

This cake always turns out well and looks great!


What to do:

  1. Pre-heat oven to 170 degree's C
  2. Mix the cocoa and bicarbonate of soda with the boiling water - once dissolved add the orange juice and leave to one side
  3. Prepare tins
  4. Beat sugar and eggs together until light and creamy.
  5. Add vanilla and orange essence and continue beating
  6. Add the flour
  7. Add the cocoa solution - beat until consistency of double cream
  8. Pour batter into tins
  9. Bake for 25-30 mins
  10. When cool decorate with freshly whipped cream and cherries!

I love cutting into a freshly homemade cake!


Related Posts Plugin for WordPress, Blogger...