Showing posts with label recipe. Show all posts

Tuesday, 8 January 2013

Homemade Bread!


I am just loving bread making at the moment! Prior to Christmas I managed to get my Mum into bread making again. I ended up getting my Mum a recipe book with 10 different dough recipes. We have fresh homemade bread here all the time now.... I wonder how long this will last?

Here is a loaf I made earlier:


The bread was good, however my ability to slice it is not. Just look at how uneven those slices are!


Saturday, 23 June 2012

French Toast with Cinnamon and Sugar

French toast is one of my favourite treats. 'French toast' is the 'posh' name for it; I usually call it "eggy-bread" which is far more parochial. It is one of those treats that I find myself craving every now and then - the great thing about it is simply how easy it is to make!


'eggy-bread'


All you need is:

6 slices of white bread (may vary due to thickness of bread slices)
2 eggs
1/2 a cup of milk
Some oil to grease the pan


For the Topping:

Cinnamon and Sugar     {my personal favourite!}
... or whatever you fancy (syrup, jam, honey...)


  • Crack the eggs into a bowl and add the milk
  • Beat the eggs and milk together
  • I normally cut each of the slices into quarters  - it just makes it easier to fit in the pan. 
  • (Either squares or triangles - personally I think that things taste better when they are triangular. Unfortunately S. cut the bread this time so we have square eggy-bread pieces!)
  • Coat a frying pan with a thin layer of oil and heat on the hob
  • Dunk the pieces of bread in the egg and milk mixture so they are coated on both sides
  • Make sure the pan is hot
  • Drop the now coated bread into the hot pan
  • Turn the bread over to make sure that the egg is cooked on both sides
  • When it is done remove from pan
  • Sprinkle plenty of cinnamon and sugar over it (or whatever you feel like having on it...)
  • Enjoy!


Sunday, 3 June 2012

Jubilee, Nationalism and Pie

British Nationalism is Sweetie Form!


Recently Britain has become really overtly nationalistic. This is due to the forthcoming Olympics (I have tickets!), the Eurovison Song Contest which was last weekend (in which Britain came last but one... but that was pretty much expected) and this weekends Royal Jubilee celebrations. Even the sweeties are donning the national colours! Recently, whenever I have turned on the news it has shown people running around with the Olympic Flame, golden boats in London or Englebert Humperdink!

The bank holiday weekend has been set for the Diamond Jubilee celebrations and street parties. Some streets have really taken it to heart and are fully decked out with bunting and having street parties.

My small contribution to the festivities comes in the form of a sweet pie - a nationalistic pie of course! Below is a sneak peak at the cooling pie crust; waiting to be filled. The finished pie is my take on the traditional British Cream Tea - strawberries and cream themed. The recipe will be in my next post!


 If you look at the platted edging you will notice what looks like a 'bell' shape or perhaps a 'bobble hat' made out of pastry... this is in fact my attempt at a royal crown shape. Oh well it was worth a try!


Jubilee celebration pie crust and mini tart cases made
from leftover pastry


Thursday, 31 May 2012

Smoothie Ice Lollies

Smoothie ice lollies


With all the nice warm weather we have been having recently it seemed the right time to make some ice lollies to cool us down. I have been buying lollies and choc-ices from the shops which is great - but they make you feel rather unhealthy and often taste a bit chemically with the artificial flavours.

So here is my healthy alternative: smoothie pops!

My Mum bought me some really cute bunny rabbit ice lolly molds last summer and I have used them a lot. Sometimes they simply double-up as an ice cube tray alternative.

My smoothie ice lollies are really simple to make and to customise to your tastes. Best of all they are made from real fruit.


Here is the recipe for the one I made this week (it makes a large quantity):


What you need:

2 bananas
340g of pineapple
160g of peaches
250g of mixed summer fruits (already frozen)
180ml of pineapple juice


What you need to do:

  • Place all the fruit and the juice together in a blender
  • Blend until the mixture is smooth and will easily pour
  • Pour into ice lolly molds
  • Freeze overnight
  • Enjoy while sitting in the sunshine the next day!

It is as simple as that - and they are so yummy!


Bunny Rabbit Ice lolly Molds


Saturday, 26 May 2012

Chocolate Lime Cake - Retro Sweet Theme


Chocolate Lime Cake


I have decide to try and make a retro sweet themed cake or pudding each week so here is my first attempt...


Chocolate limes are one of my favourite retro sweets so I thought I would start with them as the theme for a cake- yummy!


Chocolate Limes
Retro Sweet of the Week- Chocolate Limes
Picture source:
http://www.chewbz.com/blog/11/retro-sweet-of-the-week-10/


At first, I thought of making a chocolate lime cheesecake - but I didn't have any cream cheese in the fridge and I was too lazy to go to the shops... perhaps next time (I supose it is ok to have two cakes on the same theme).


 Cake Mix:

75g cocoa
3/4 teaspoon bicarbonate of soda
100ml boiling water
100ml cold water
300g caster sugar
4 eggs
1 teaspoon of vanilla essence
1 teaspoon of orange essence
180ml light olive oil
200g self raising flour
Yummy!
1 lime

To Decorate:

300ml pot of fresh whipping cream
Cadbury flake bar
1/2 a lime
Lemon curd


What to do:
  1. Pre-heat oven to 170 degree's C
  2. Mix the cocoa and bicarbonate of soda with the boiling water - once dissolved add the cold water and the juce of the lime; leave to one side
  3. Prepare tins
  4. Beat sugar and eggs together until light and creamy.
  5. Add vanilla and orange essence and continue beating
  6. Add the flour
  7. Add the zest of 1/2 a lime
  8. Add the cocoa/lime solution - beat until consistency of double cream
  9. Pour batter into tins
  10. Bake for 25-30 mins
  11. When cool decorate put a layer of lemon curd and freshly whipped cream in the middle
  12. Decorate the top with the rest of the freshly whipped cream, slices of lime and some of the crumbled flake bar!
  13. Enjoy! 


The Finished Chocolate Lime Cake


Friday, 18 May 2012

CCK Hot Chocolate


Yummy!


While checking out pictures on pinterest I noticed this really attractive picture of a big mug of hot chocolate (click link to see photo). It just looked so yummy! When I clicked on the link to the Chocolate Covered Katie webpage it had been given the title "The Perfect Hot Chocolate" - so I thought that I would give it a go.

I really liked the idea of making it with coconut milk from a tin... I am not sure why, but it just appealed to me. I made it on the hob rather than the microwave and as I was making it for both myself and S I doubled the recipe.

So following the recipe chose to use:
What you need (non-vegan version)


  • 1 1/3 cup of semi-skimmed milk
  • 2/3 cup full-fat canned coconut milk
  • 4 T cocoa powder
  • 1/8 tsp salt
  • 1 tsp vanilla
  • 2 tablespoons sugar


  • Click here to see the recipe on Chocolate Covered Katie.

    I combined all the ingredients on the hob and made sure that it was completely mixed and heated through.

    Add the ingredients to the pan.
    Mix well.

    When poured into the mugs I let my creative side take over... yey for marshmallows!

    Here is the result:
    The finished hot chocolate!


    Not only did it make two huge mugs (believe me the spotty mugs are massive!) but it also made a small hot chocolate as well! Rather more than I was expecting (probably my fault as I am more used to working in mls rather than cups). As hot chocolate goes - it was nice, although I probably wouldn't go to the effort of making it again as it was a wee bit too rich and creamy for my tastes. S seemed to like it - but I didn't manage to finish my mug.  However, it was fun to make and made the kitchen smell really chocolaty... I can't wait to try some more of the recipes from Chocolate Covered Katie!


    Monday, 14 May 2012

    Mini Microwave Cake


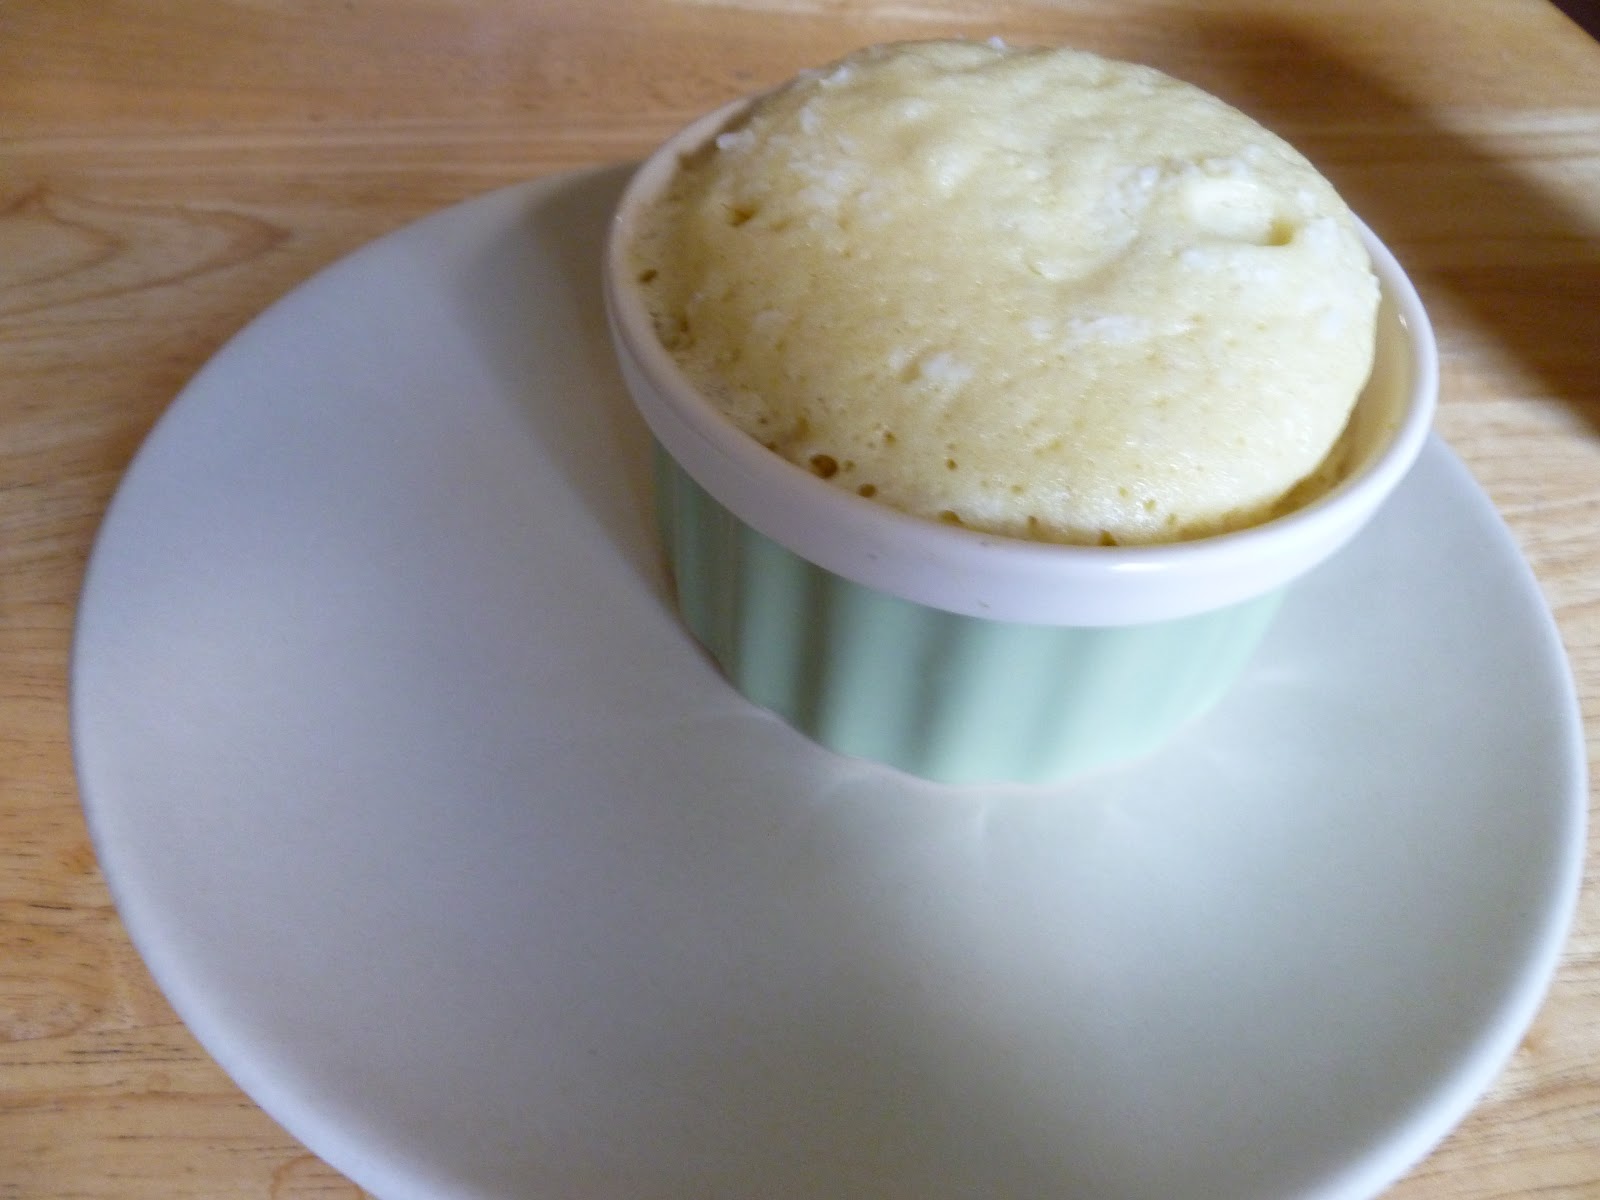
    Raspberry and coconut mini microwave cake!


    This is a really simple cake to make. I made it this afternoon when S came home from work and said he had had a tough day. Cake is always good to cheer people up!

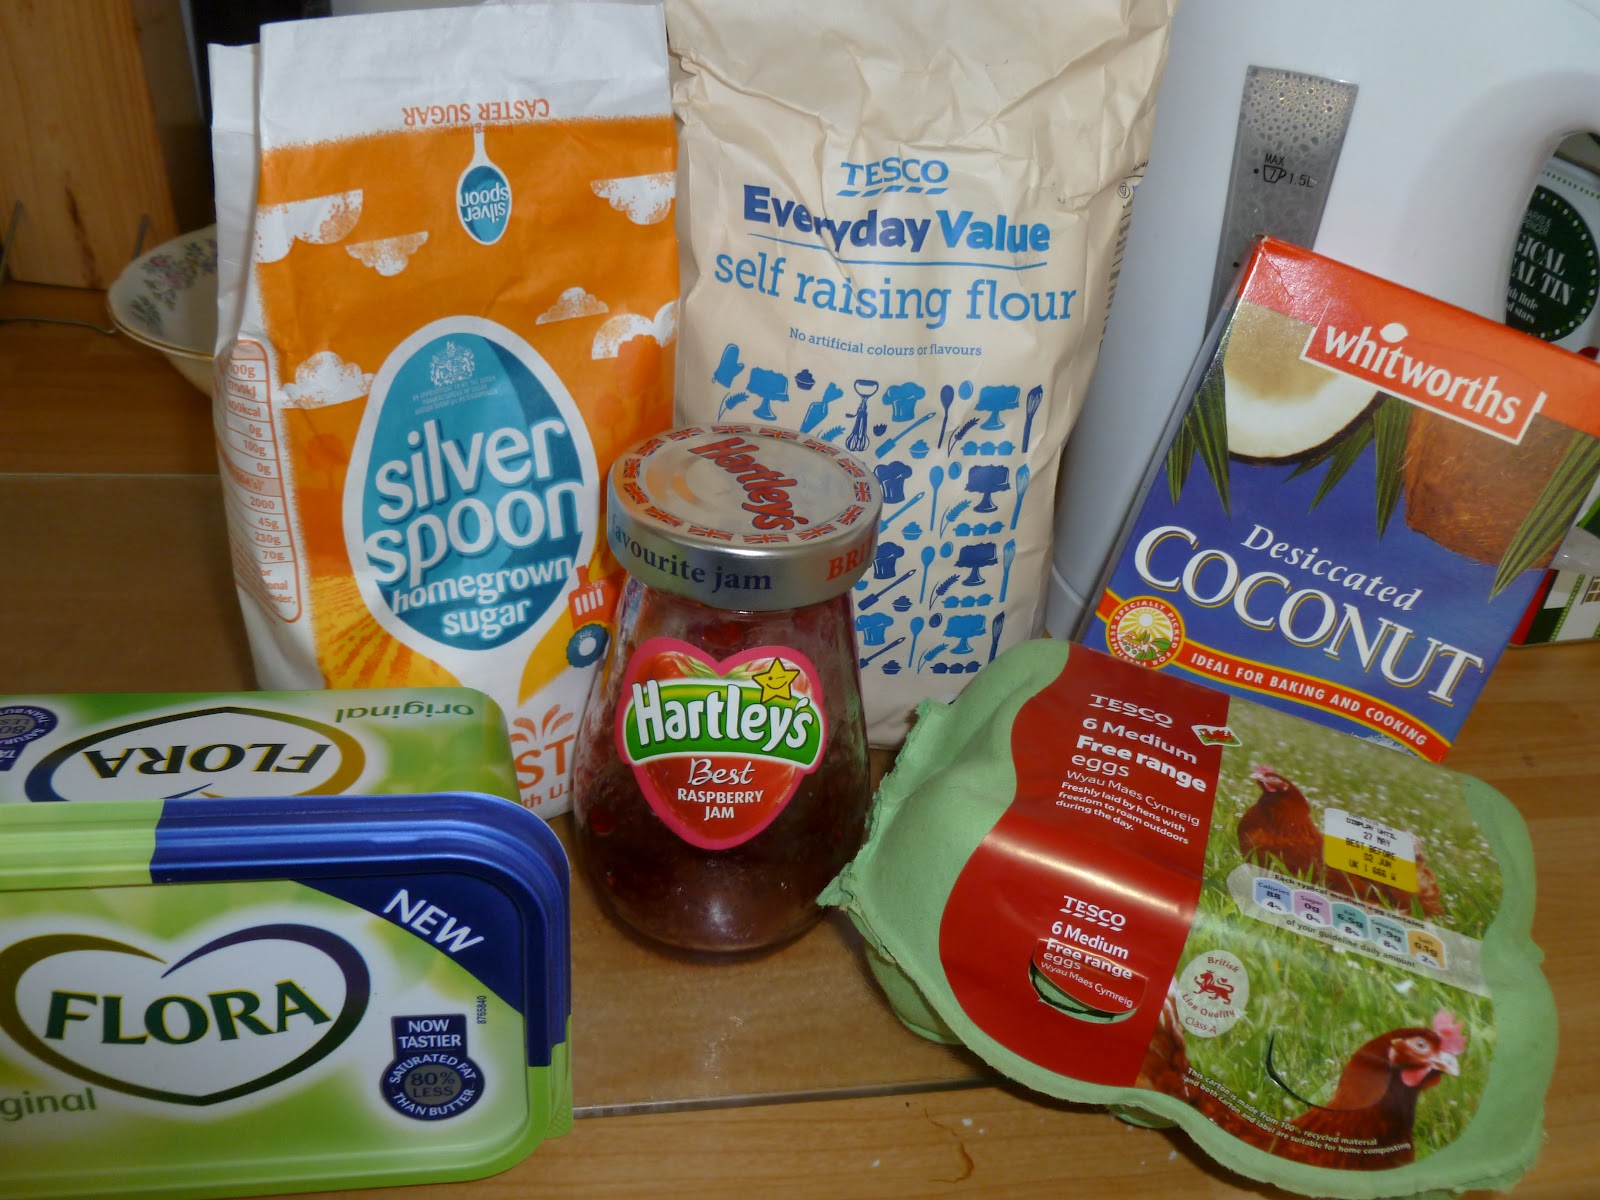
    What you need.


    What you will need:


    1 oz caster sugar
    1 oz self raising flour
    1 oz butter or flora (alternatively use olive oil)
    1 teaspoon of baking powder
    1 egg

    desiccated coconut (to taste)
    raspberry jam* (to taste)              
                                                                                                                                      

    Ready to go in the microwave.
    Notice that I have sprinkled a little more coconut on the top...

    1. Mix the butter and caster sugar together
    2. Beat the egg and add it to the sugar and butter
    3. Add in the flour, baking powder and the desiccated coconut
    4. Mix well
    5. Prepare 2 microwave safe ramekins
    6. Pour a little of the mix into the bottom of each ramekin.
    7. Place about 1 and a half teaspoons of jam into the centre
    8. Pour the rest of the mix over the jam in both ramekins
    9. Now place one of the ramekins in the microwave on full power**
    10. Heat for approximately 1 min 30 seconds (depending upon your microwaves power)
    11. Repeat cooking process for the second ramekin
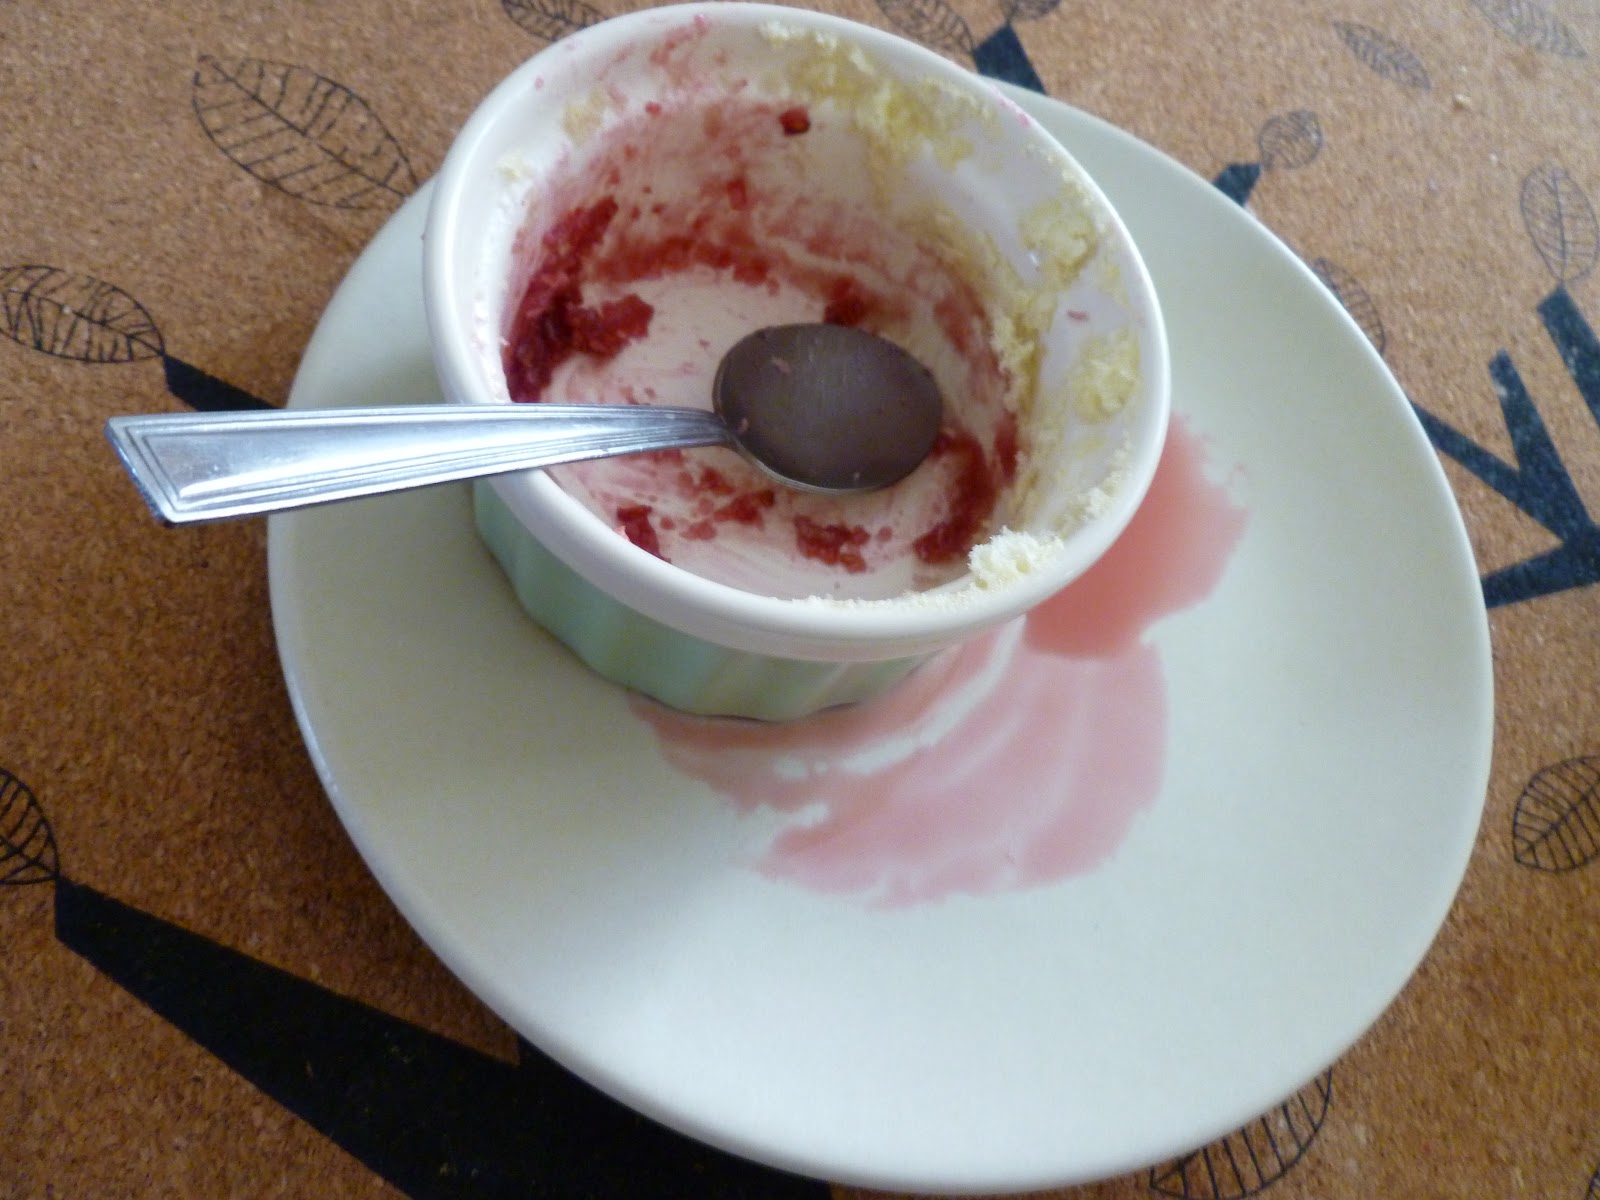
    12. I decorated the cake with raspberry sauce to make it look pretty (see below)
    13. Enjoy!


     *jelly- for all the Americans reading this.
    **or in the case of my current microwave which is very powerful I put it on setting 9 (out of 10); adjust according to your microwaves power.


    Friday, 11 May 2012

    Chocolate Orange Cake

    Very Yummy!
    This is one of my favourite cake recipes; i love it because it always produces a nice moist sponge and is relatively quick and easy to make. However, it is a rather rich cake so I would recommend having a small slice - although some of my friends have managed to eat huge slices in the past! Hope you enjoy this cake as much as I do...  

    Cake Mix:

    75g cocoa
    3/4 teaspoon bicarbonate of soda
    100ml boiling water
    100ml orange juice
    300g golden sugar
    4 eggs
    1 teaspoon of vanilla
    1 teaspoon of orange essence
    180ml light olive oil
    200g self raising flour

    To Decorate:

    300ml pot of fresh whipping cream
    glace cherries

    This cake always turns out well and looks great!


    What to do:

    1. Pre-heat oven to 170 degree's C
    2. Mix the cocoa and bicarbonate of soda with the boiling water - once dissolved add the orange juice and leave to one side
    3. Prepare tins
    4. Beat sugar and eggs together until light and creamy.
    5. Add vanilla and orange essence and continue beating
    6. Add the flour
    7. Add the cocoa solution - beat until consistency of double cream
    8. Pour batter into tins
    9. Bake for 25-30 mins
    10. When cool decorate with freshly whipped cream and cherries!

    I love cutting into a freshly homemade cake!


    Related Posts Plugin for WordPress, Blogger...